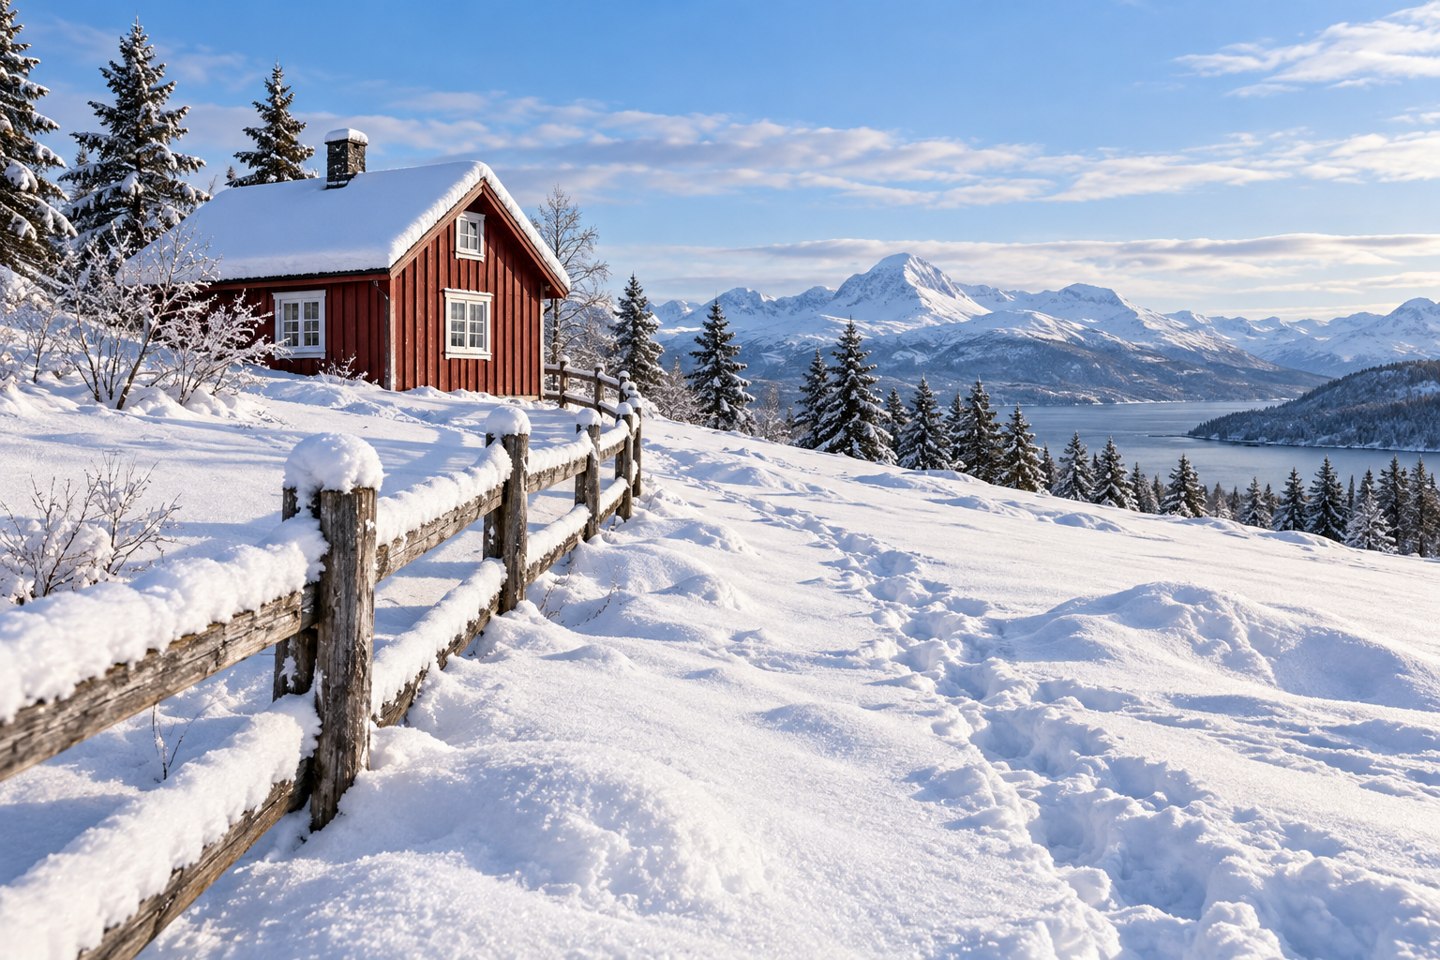
You photograph a field of white snow and the result looks dull grey. The light has not necessarily changed. The camera may have chosen an exposure that makes a predominantly bright scene darker than you intended.
Check the photograph first. If the snow looks too dark, try positive exposure compensation and take another frame. Keep an eye on the brightest textured areas as you increase it. Snow can look bright while still showing footprints, ridges, and the shape of the ground.
Why the meter can darken a snowy scene
The camera measures reflected light. A frame full of snow sends it a different mix of tones from a frame full of dark trees. Depending on the metering mode and camera, automatic exposure may pull the bright scene toward a middle tone. Canon explains this behaviour in its snow photography guide.
How much correction you need depends on the composition. A close view of snow and a view containing a dark cabin can produce different meter readings in the same light. Recheck exposure after reframing, especially when you include more sky or a much darker subject.
Make one small exposure change
In aperture priority, choose an aperture that suits the scene, then take a reference frame at zero compensation. If the snow is too dark, try +2/3 EV. Compare the new photograph with the first. Increase or reduce the compensation in small steps until the important snow looks bright and retains the detail you want.
The +2/3 EV setting is a starting experiment, not a fixed snow preset. Some scenes need more correction; others need none. Strong sunlight on a snowbank can leave less room to brighten the image than soft light on an overcast day.
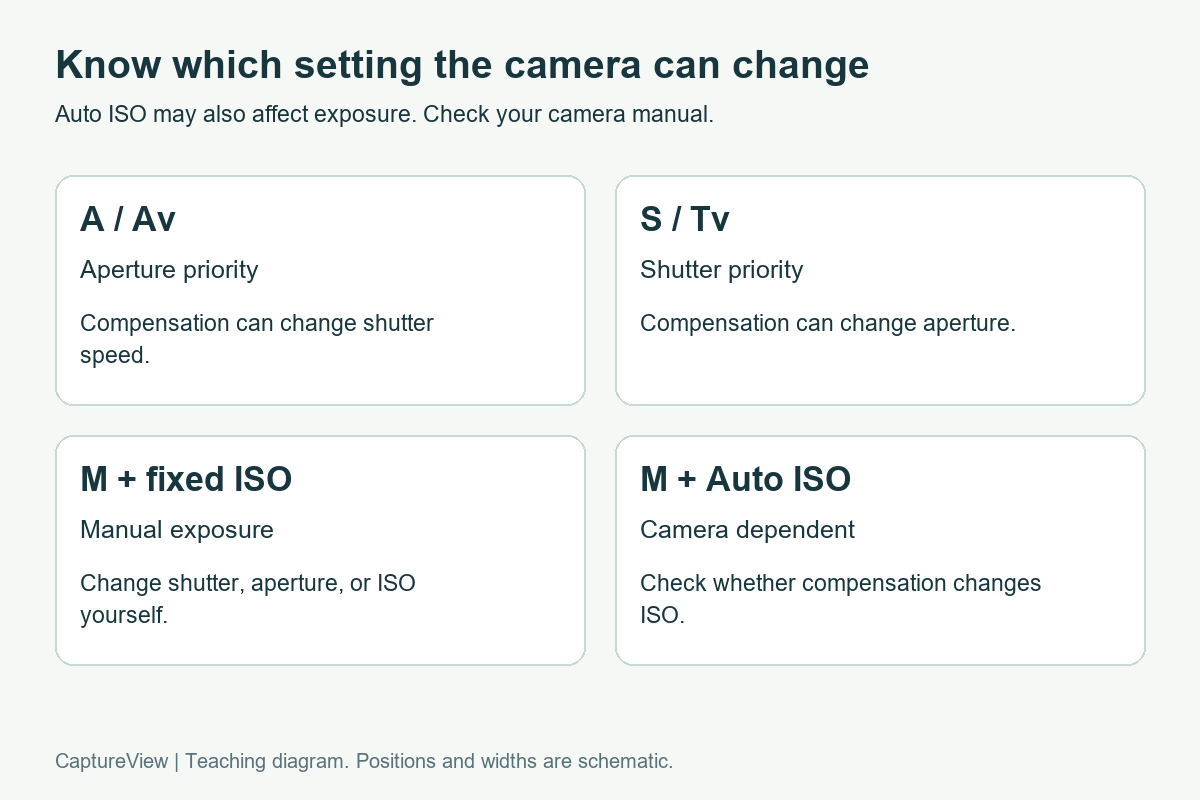
Watch the shutter speed while you adjust. In aperture priority with fixed ISO, positive compensation normally lengthens the exposure. If you are handholding or photographing moving people, make sure the resulting shutter speed remains suitable. Auto ISO can alter how the camera reaches the requested brightness.
Check highlights before adding more
Magnify a bright patch of snow that matters to the photograph. Can you still see its surface? Enable highlight warnings if your camera offers them. Broad flashing areas across an important snowbank are a reason to check the exposure more carefully and try less compensation.
A few tiny sparkles can reach pure white without spoiling the photograph. A large featureless patch across the main subject is a different decision. Choose which details you need to preserve instead of treating every bright pixel as an error.
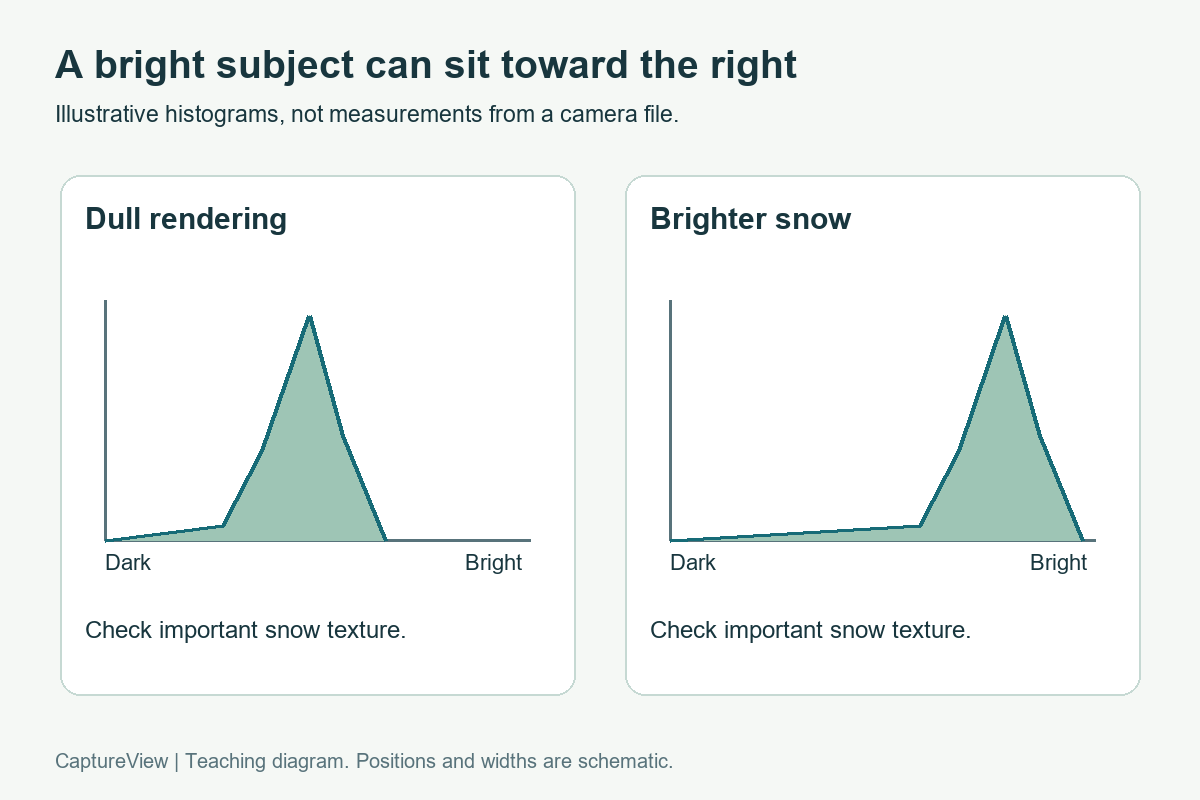
A snowy scene can place much of its histogram toward the bright end. The graph does not need to form a hill in the middle. Check whether important bright areas are being cut off at the right edge. If your camera shows separate RGB histograms, inspect those too; a single channel can reach its limit before a combined brightness graph makes the problem obvious.
Camera histograms and warnings usually describe the processed preview. Picture styles and white balance can affect that preview, so use them as guidance and leave some margin when the detail matters. A raw file offers editing flexibility, but it cannot restore detail that the sensor never recorded.
When the compensation dial seems to do nothing
In manual exposure with a fixed ISO, the camera has no exposure setting left to change automatically. Turning compensation may move a meter indication without brightening the recorded image. Change shutter speed, aperture, or ISO yourself, then make another frame.
Manual mode with Auto ISO behaves differently across cameras. Some models let compensation change ISO; others restrict it. Check the relevant section of your camera manual. If the image is unchanged, confirm which settings actually moved and whether an ISO or aperture limit has been reached. Our camera basics guide is a useful place to review the controls.
Grey snow and blue snow need different checks
A photograph can have acceptable brightness and still look too blue. Snow in shade often reflects blue sky. Raising exposure changes brightness; white balance changes colour rendering. Compare the snow in sun with the snow in shade before trying to make every patch neutral.
For a practice sequence, keep white balance unchanged while testing exposure. Once you have chosen the brightness, compare a different white balance on a copy or in your raw editor. This makes it easier to see which change solved which problem. The editing lesson covers keeping an original and comparing restrained adjustments.
Try the comparison close to home
- Choose a safe, accessible scene with a textured patch of snow and a darker object.
- Keep the framing, aperture, and white balance steady. Take a zero-compensation reference.
- Try +2/3 EV, then adjust from what you see. Check both snow texture and shutter speed.
- Reframe to include more of the dark object. Notice whether the meter changes its recommendation.
- Reset compensation to zero when you finish so it does not carry into the next shoot.
A white towel or folded white fabric in indirect daylight can stand in for snow when you practise metering indoors. Keep folds visible and repeat the same comparison. It will not reproduce outdoor snow lighting, but it gives you a bright subject on which to learn the compensation control.
Scene photograph: AI-generated teaching illustration. Diagrams are schematic and do not report measured camera results.
Leave a Reply