
Photography, explained.
Make better photos.
Start with the light.
Practical lessons on composition, lighting, and getting to know your camera.
Explore the tutorialsYour next step in photography
Choose a starting point that matches what you want to understand.
 01
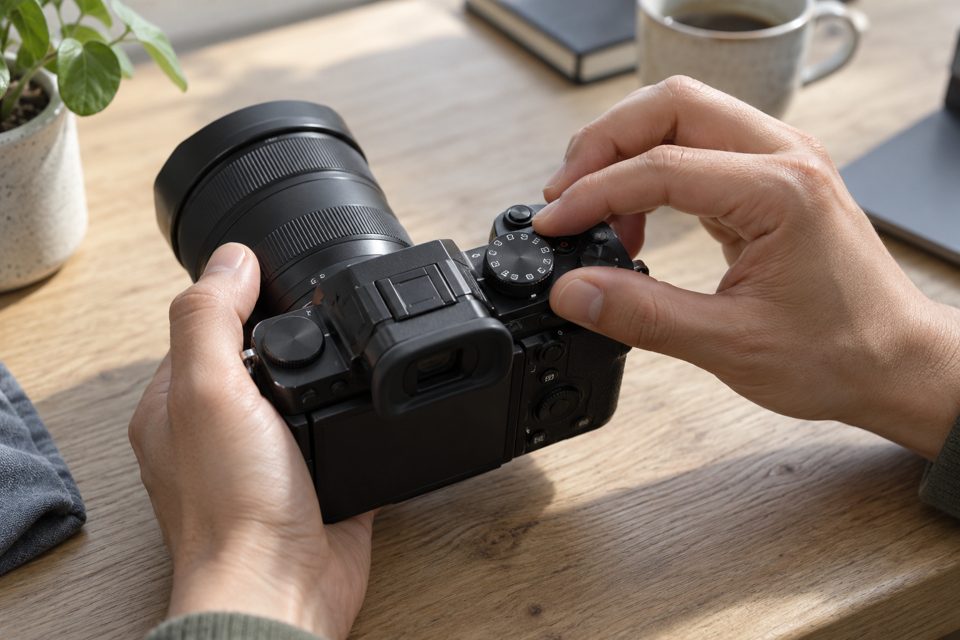
Get comfortable with your camera
Learn what aperture, shutter speed, and ISO change. Choose a focus point and inspect the result before moving on.
Understand the controls →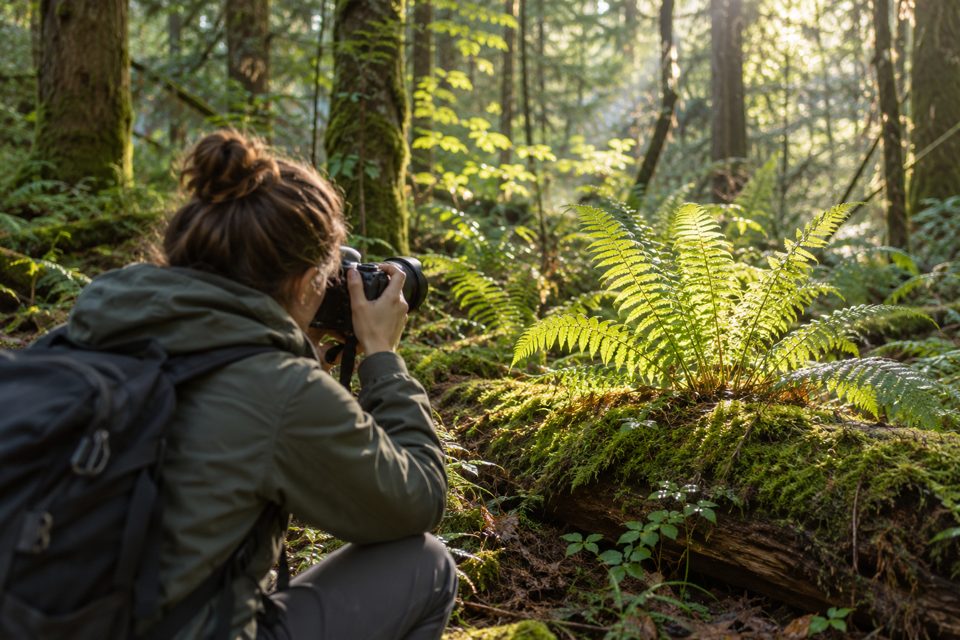 02
Work with the scene in front of you
Read the direction of light, simplify a background, and try different viewpoints. Begin with a subject close to home.
Practise light and composition →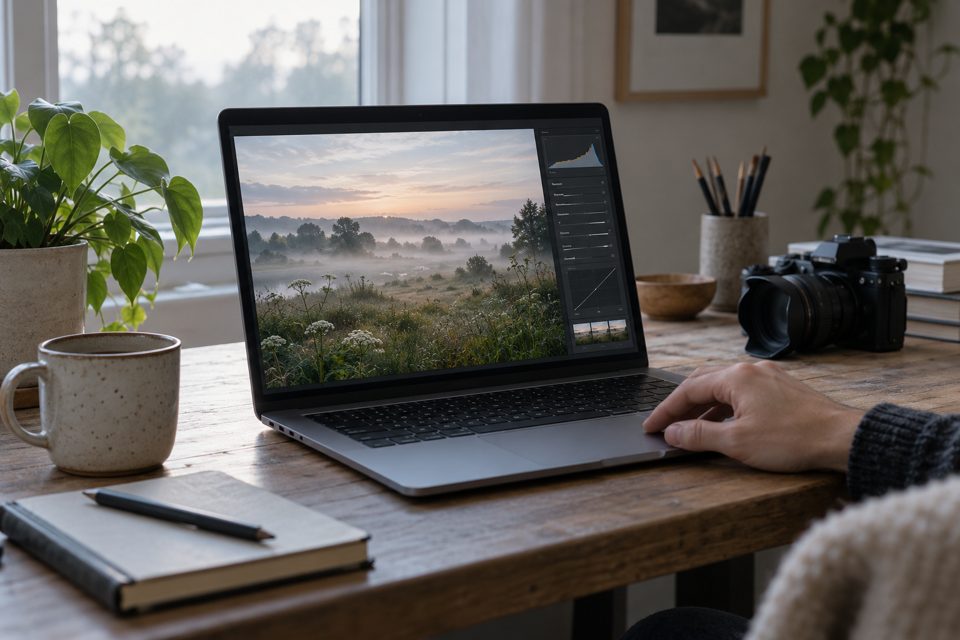 03
Review, edit, and try again
Check sharpness and brightness, keep the original, and make a restrained edit. Let the comparison guide your next photograph.
Build an editing routine →Latest photography lessons
Specific questions, practical steps, and something to try with your next photograph.
How to Photograph Moving Water With Long Exposures
Published: November 13, 2026 · Updated: November 13, 2026 · By Clara Whitmore, CaptureView contributor Long exposures turn moving water into a soft veil while rocks, shorelines, and…

How to keep both rows sharp in a group photo
Arrange a small group with less depth, choose a workable aperture, and check faces in both rows before everyone leaves.
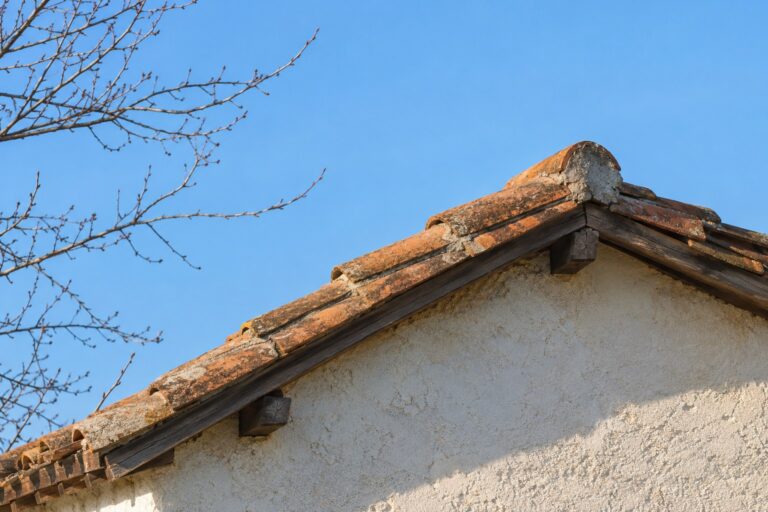
Why Do My Sharpened Photos Have White Edges?
Track down sharpening halos around trees, roofs, and faces. Compare Amount, Radius, local contrast, and output sharpening without destroying the original.
Photography Tips
Pick one exercise. Take a few frames. Compare what changes.
 Portraits
How to use window light for portraits
Start with one window and notice how the shadows change as your subject turns.
Try this exercise
- Choose a window with indirect daylight. Turn off nearby lamps to avoid mixing different light colours.
- Place your subject beside the window, then ask them to turn slightly towards it. Compare the light on both sides of the face.
- Focus on the nearer eye and check that your shutter speed is fast enough for the subject’s movement.
For gentler shadows, try a white wall or reflector on the darker side. Always ask permission before photographing someone.
 Composition & Light
How to simplify a busy composition
Give your subject room. A small change in position can clean up the whole frame.
Try this exercise
- Choose one subject and name what you want the viewer to notice first.
- Check the edges of the frame. Move slightly to remove distracting signs, bright patches, or objects behind your subject.
- Take a wide frame and a tighter one. Compare which tells the story more clearly.
Keep details that help explain the scene. A clean composition does not have to be an empty one.
 Landscapes
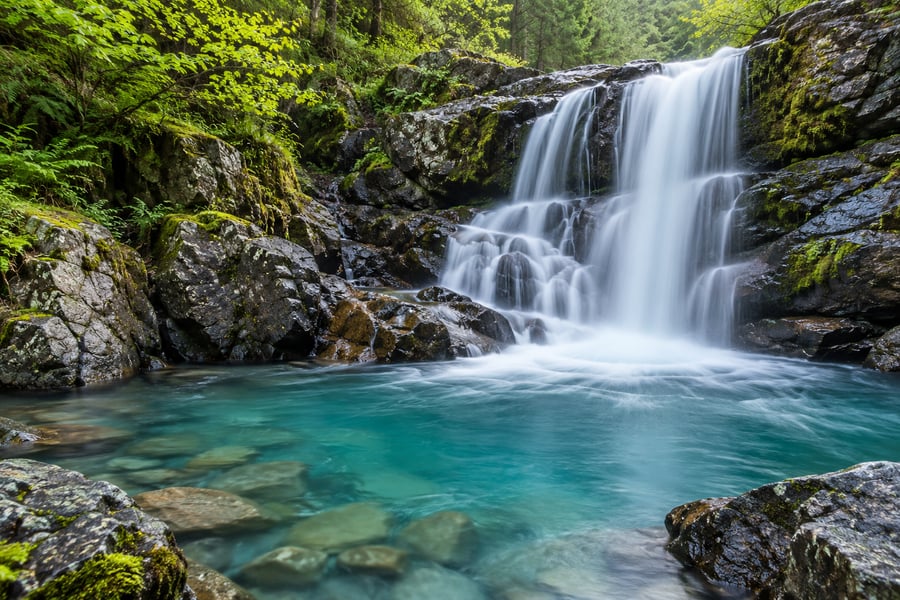
How to photograph flowing water
Use shutter speed to decide whether water looks frozen, textured, or softly blurred.
Try this exercise
- Work from a safe, stable position away from slippery edges. Keep your camera steady, using a tripod when available.
- Compare a faster shutter speed with a slower one. Start around 1/4 second for blur, then adjust for the flow and the look you want.
- Check exposure after each change. In bright light, a neutral-density filter may help you use a longer shutter time.
Use a timer or remote release to reduce shake. The example image is an illustration, not a measured camera test.
Images on this page are AI-generated illustrations.
Camera & Lens Basics
Understand the controls before changing them.
Exposure
What do aperture, shutter speed, and ISO do?
These controls work together. Choose the effect that matters for your photograph, then balance the other settings.
Read the basics
A lower f-number means a wider aperture. It admits more light and, with other factors held constant, gives a shallower depth of field. A longer shutter time admits light for longer and can show motion blur. Raising ISO increases image brightness at the same aperture and shutter speed, but may make noise more visible.
For a moving subject, protect your shutter speed first. For a still subject, decide how much of the scene needs to look sharp. Check the result rather than relying on one universal setting.
Further reading: Nikon’s exposure guide ↗
Lenses
Prime vs. zoom lenses: how they work
A prime lens has a fixed focal length. A zoom lets you change focal length without changing lenses.
Try a framing exercise
If you have a zoom lens, keep the camera in one position and make a wide frame and a tighter frame. Notice how the field of view changes.
Then choose one focal length and change your position. Moving the camera changes perspective, including the apparent relationship between near and distant objects. Changing focal length from the same position changes framing.
Stay within safe, permitted areas. You do not need to buy another lens to try this exercise.
What are you trying to solve?
Start with the problem you can see in your photograph.
Editing
Start with a small adjustment.
Before reaching for a preset, look at the exposure, colour, and edges of your photograph.
Try a simple editing pass
Keep an untouched original. Adjust brightness gently, check important highlights and shadows, then set white balance for the look you want. Try a small crop if the edges distract from the subject.
Compare the edited frame with the original. If skin, foliage, or the sky looks unnatural, reduce the adjustment. Editing choices depend on the image and your intended result.
A small task for your next shoot
One subject. Three viewpoints.
Choose an everyday subject. Make one frame from your first position, one from a lower viewpoint, and one after simplifying the background. Compare all three at the same size. Keep the frame that makes your subject clearest, and write down what changed.
About the lessons
CaptureView explains photography in plain English. Settings are starting points: light, movement, equipment, and your intended result determine the final choice. Teaching images are labelled when they are AI-generated illustrations.
Tell us what needs explaining
If a step is unclear or a detail seems wrong, send the page link and the part you want checked. You can also suggest a question for a future lesson.