A roofline looked clean before editing. After sharpening, a pale outline separates it from the sky. The picture seems crisp at first glance, but the edge starts to look cut out. You have probably strengthened an edge more than the image needs.
Sharpening often increases contrast around transitions between light and dark. Pushed too far, that treatment produces a visible bright or dark rim, usually called a halo. It can emphasise existing detail, but it cannot reliably turn a genuinely out-of-focus photograph into a sharply captured one.
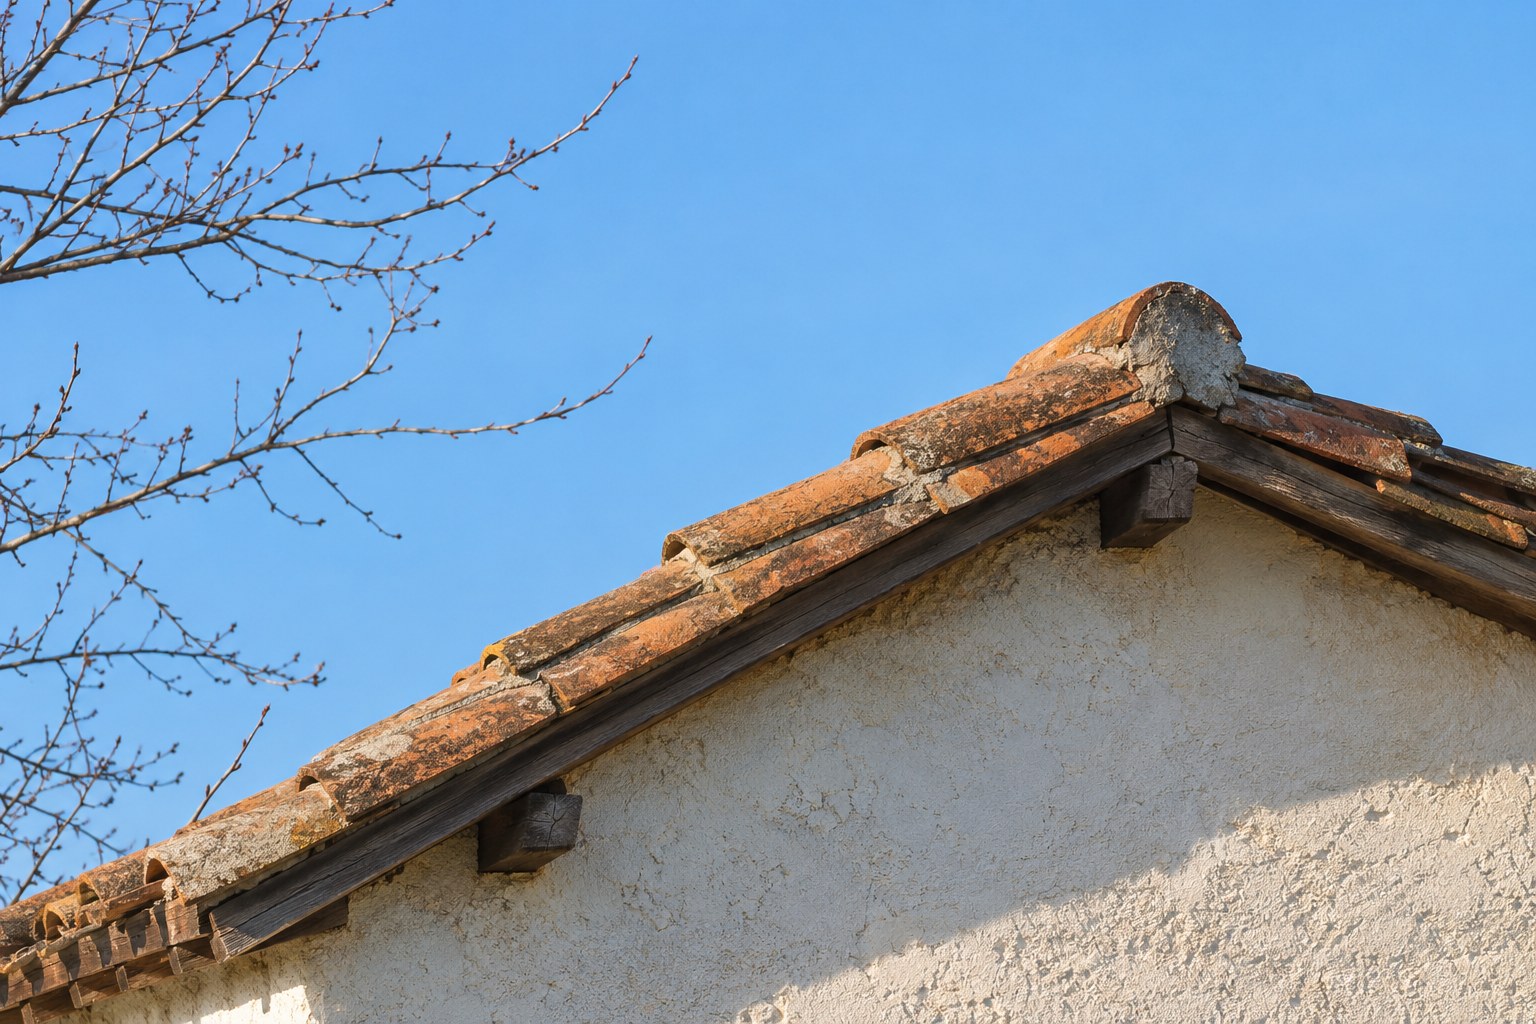
Check whether the rim is actually new
Return to the original or temporarily disable the edit. Compare the same edge at the same magnification. If the pale outline was already there, sharpening may have exaggerated it rather than created it. Bright backlighting, lens effects, colour fringing, compression, and local adjustments can all complicate the diagnosis.
Look at more than one area. A thin bright edge around every branch suggests a different problem from a broad glow along only the boundary of a sky mask. Avoid treating every light outline with the same slider.
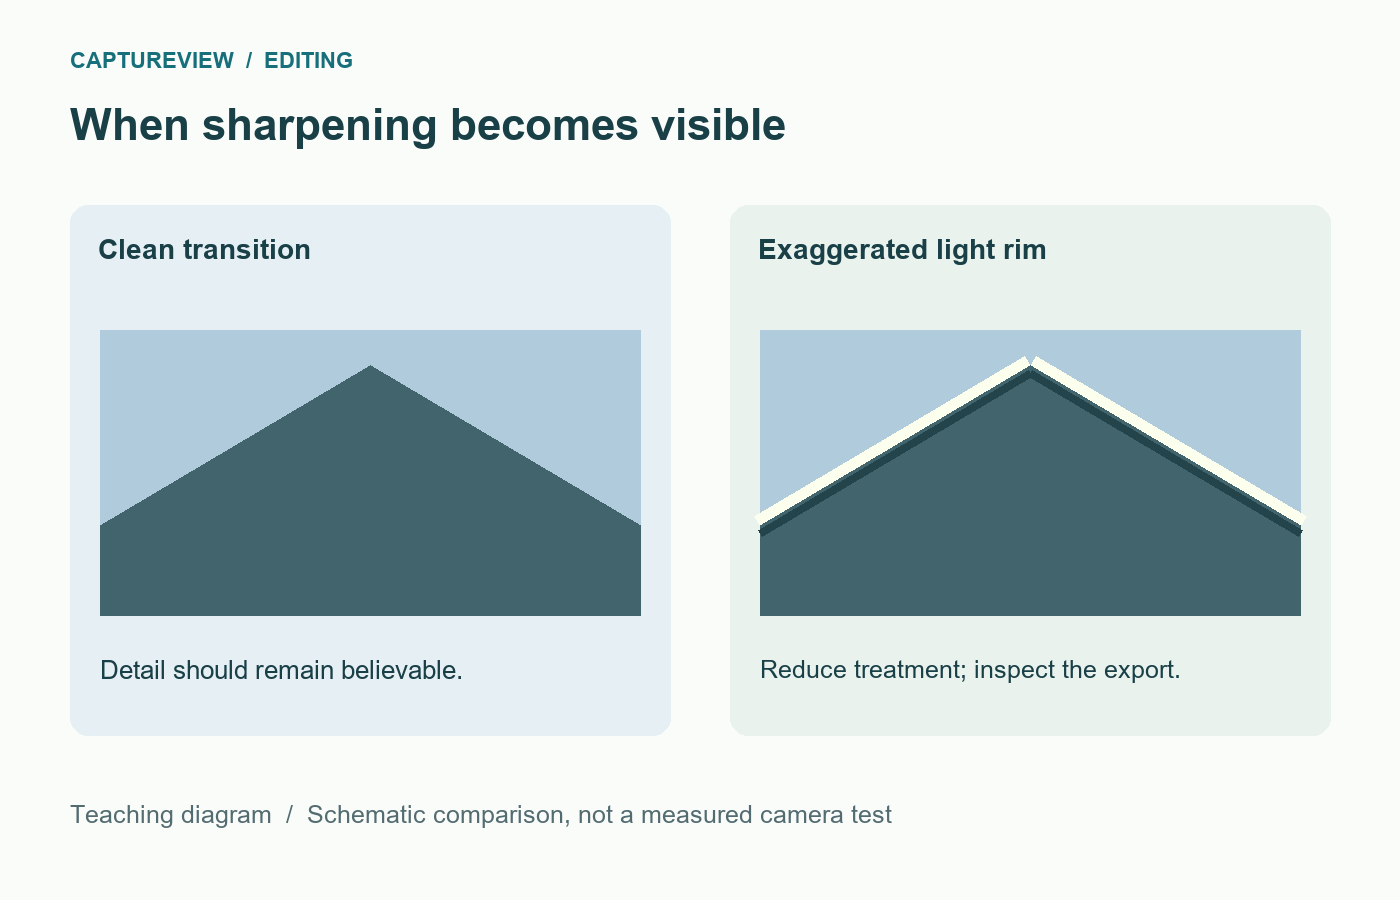
Reduce sharpening before adding another correction
In Lightroom Classic, inspect the image at 100% and work in the Detail panel. Lower Amount to see whether the rim weakens. Then compare Radius. A radius that is too large for fine branches or small facial details can make the treatment look obvious.
Keep the changes separate. If you lower Amount, Radius, and Detail together, you may improve the picture without learning which control caused the problem. Start with the suspected setting, compare, and then make the next change if needed.
Adobe describes Radius as the size of detail affected and warns that an excessive radius can look unnatural. Amount controls edge definition, while Detail changes how strongly fine information is emphasised. These names are specific to the application; other editors may organise similar controls differently.
Do not sharpen the sky just because you sharpen the roof
A smooth sky or a softly blurred background rarely needs the same treatment as a detailed building. Lightroom Classic’s Masking control can restrict sharpening towards stronger edges. Hold Alt on Windows or Option on macOS while adjusting it to inspect the mask preview: white areas receive the treatment, while black areas are protected.
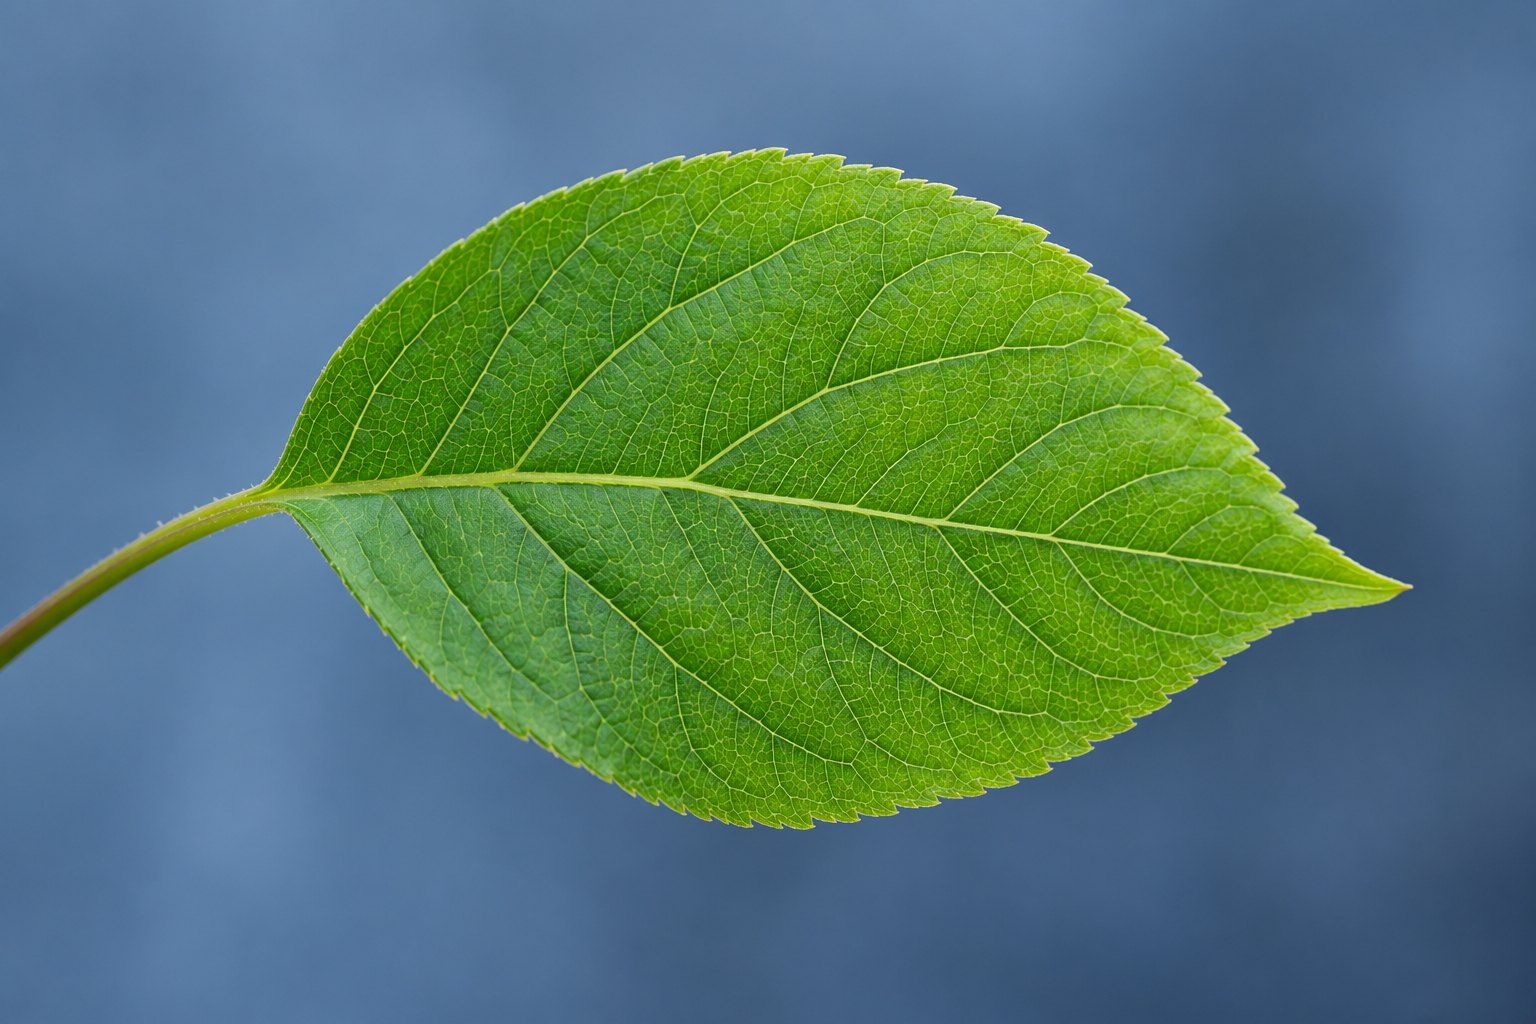
This sharpening mask is separate from the local Masking workspace used for subjects, skies, brushes, and gradients. Confusing the two can make tutorials difficult to follow. Start by finding the Sharpening controls inside Detail.
Masking is not a cure for an oversized halo on the very edge you have selected. If the roofline is white in the sharpening mask, excessive Amount or Radius can still affect it. Reduce the underlying treatment first.
If sharpening is off and the outline remains
Temporarily disable local masks one at a time. A strongly darkened sky beside an unchanged tree can expose a broad boundary. Check the mask coverage at branches and soften or refine the transition as your editor allows. Avoid painting a bright outline around the tree to hide a dark one.
Next compare strong Clarity, Texture, Dehaze, or similar local-contrast adjustments. They work at different scales and do not all behave like sharpening, but an aggressive combination can make edges look harsh. Reset one suspect control, inspect, and restore it if it was not responsible.
If the outline is distinctly purple or green, inspect the lens-correction tools instead. Colour fringing is not the same as a neutral sharpening halo, and reducing all detail may only soften the photograph without solving the colour.
Inspect the exported file, too
Resizing changes the detail available in a picture. Output sharpening then acts on the version you export. A small JPEG may look harsh even when the full-resolution editing preview seems acceptable.
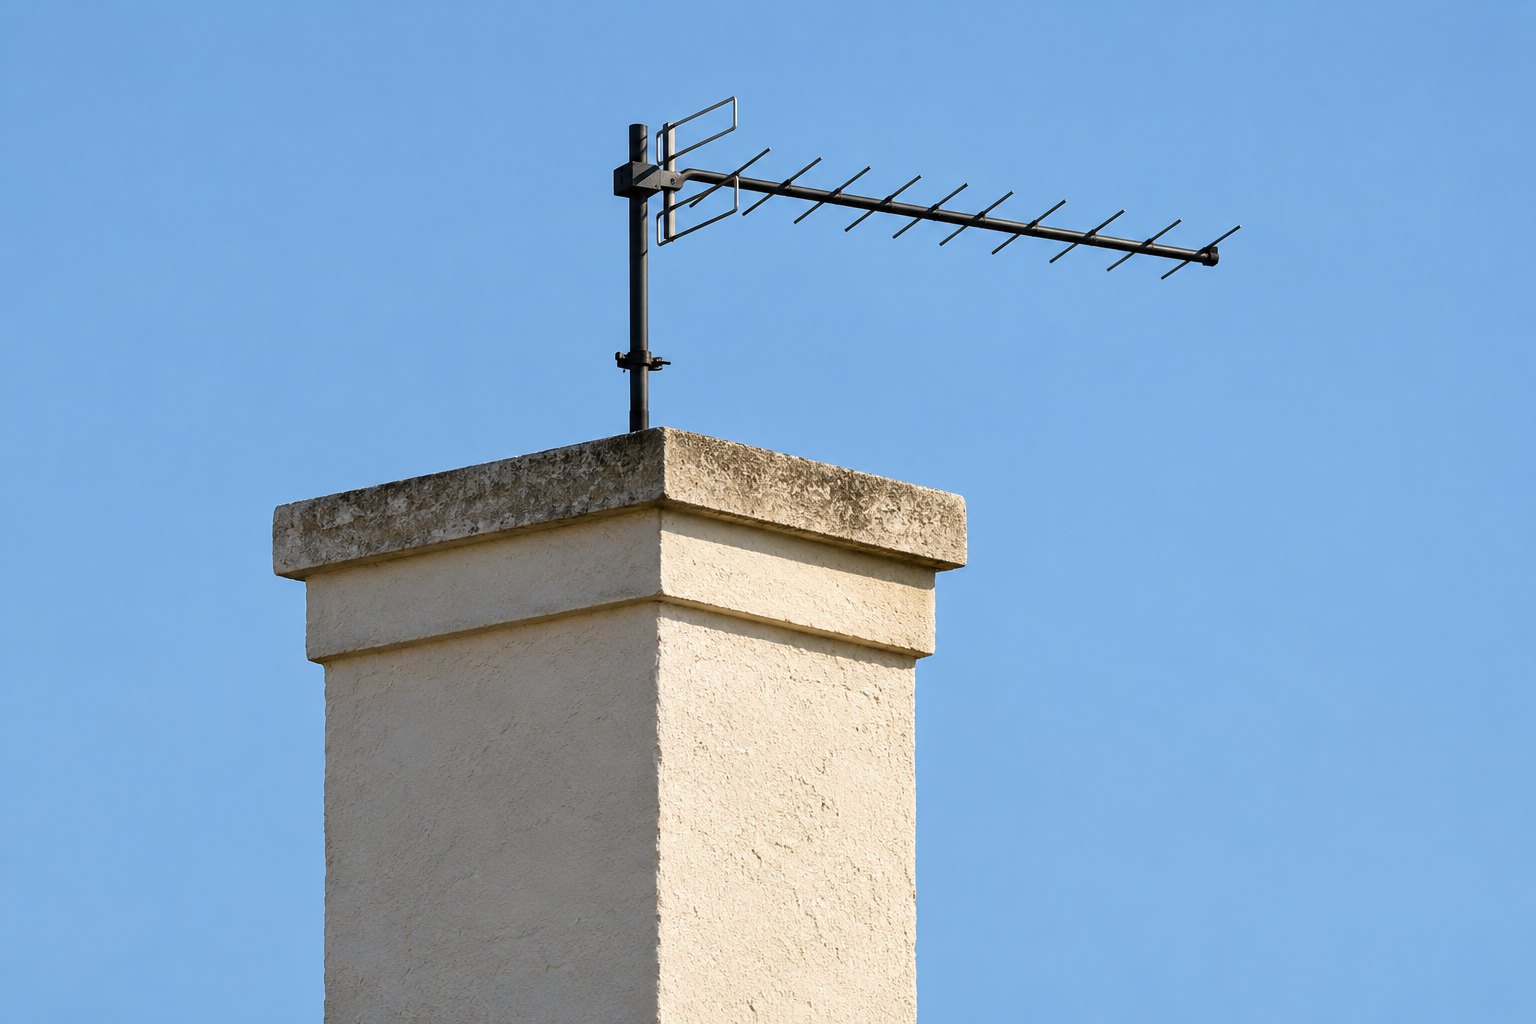
Export two otherwise identical copies at your intended pixel dimensions: one without output sharpening and one with a modest output setting. Open both at 100% and also at their normal display size. If only the sharpened export has the rim, reduce or disable output sharpening. If both have it, return to the main edit.
Keep the original file and editable version. Do not repeatedly open, sharpen, and overwrite the only JPEG. Recompression makes later comparisons harder and can introduce artifacts of its own.
A ten-minute edge test
- Choose a photograph with a roof, trunk, or other clear edge against an even background.
- Create a virtual copy or duplicate edit so the original remains available.
- At 100%, lower sharpening Amount and note whether the light rim changes.
- Return to the starting version, reduce Radius, and compare the same edge.
- Check a textured area and a smooth area before choosing the gentler version.
- Export at the size you actually need and inspect that file rather than judging only the editor preview.
Keep a short note of the control that changed the rim. There is no useful universal sharpening recipe across every camera, crop, subject, and output size. The point of the test is to recognise when the treatment becomes visible.
Choose detail over the appearance of crispness
When skin looks gritty or leaves turn into brittle outlines, back off and compare with the original at a normal viewing size. Compare the edited file with the original at its intended display size before deciding whether the extra crispness improves the detail.
Use a restrained editing pass to check the rest of the picture. If the original has directional smearing or missed focus, review it with the photo-review routine and change the capture next time. Sharpening should help the detail you recorded remain readable, without drawing attention to the processing.
Sources and further reading
Adobe Lightroom Classic: retouch photos, sharpening and noise reduction documents Amount, Radius, Detail, and Masking. Control names and placement may differ in other editors.
Leave a Reply