You return with a hundred photographs and keep the sharpest one. That is a start, but it does not explain why the next session should be different. A short review can turn the files into useful feedback.
Review one shoot at a time
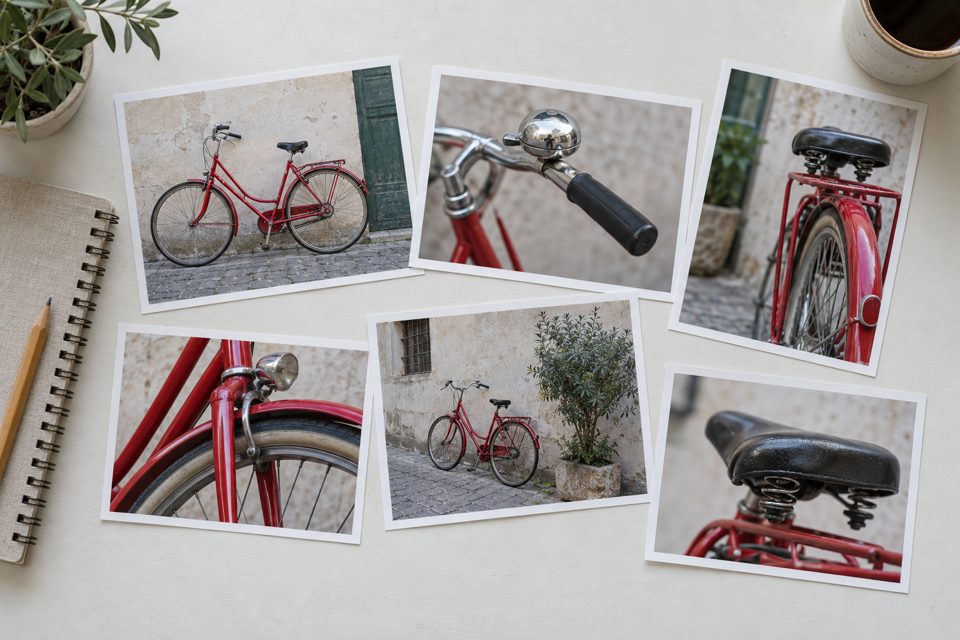
A small selection from one shoot. Use a short set of photographs made in similar conditions rather than mixing unrelated shoots into the first review. Look at them at the same size, then inspect a few important details more closely. Write one observation you can act on next time; a long list of criticisms is harder to practise.

Choose a small comparison set
Pick three to five frames of the same subject or situation. Comparing unrelated photographs makes it harder to identify what changed. Include an imperfect frame if it illustrates a useful difference.
View them at the same size and similar brightness. A larger or brighter preview can seem more appealing for reasons unrelated to the photograph.
Ask what the photograph is about
Look for the first thing you notice. Does it match your intended subject? A bright sign, an edge, or a background face may be pulling attention away.
If the subject is unclear, choose a framing task for next time. Moving position or waiting for an overlap to clear may help more than changing camera settings.
Check sharpness after judging the whole frame
Magnify the important detail. Is the focus distance wrong, is the subject moving, or is there camera shake? Check recorded shutter speed, aperture, and ISO when available, after judging the image itself. This keeps impressive-looking settings from deciding which photograph you prefer.
Do not reject an expressive photograph merely because an irrelevant corner is soft. Decide which details needed to be sharp for that photograph to work.
Look at the light and timing
Compare shadow shape and the bright areas. Which face direction or camera position used the light more effectively? For action or expressions, compare the moment rather than only the technical settings.
A useful frame may have come from waiting, not from a new piece of equipment. Record that observation too.
Write one reason to keep a frame
“I like it” is a valid reaction but weak practice guidance. Try a concrete note: “The lower viewpoint removed the car behind the person,” or “The faster shutter kept the hand sharp.”
Then write one thing to change. Avoid a list of ten faults that leaves you unsure what to practise first.
Make the next task small
If backgrounds caused trouble, make three viewpoints of one subject. If movement blurred the subject, compare two shutter speeds. If colour distracted, compare white balance under one steady light source.
Keep the selected files and notes together, and preserve originals before editing. Use the first-week plan for structure and camera basics when a control needs explaining. Keep one observation with the selected files and use it to choose a task for the next session.
If every note says “not sharp”, distinguish focus error from subject movement and camera shake. If you cannot explain an edit, compare it with the original and reduce one adjustment before adding another.
Related lessons
- How to Simplify a Busy Background Before You Take the Photo
- Why Is Your Moving Subject Blurry When the Background Is Sharp?
Leave a Reply