Category: Getting Started

Beginner photography lessons on exposure, focus, camera controls, and simple practice exercises.

  • Why Are My Handheld Photos Blurry Even When Nothing Is Moving?

    Why Are My Handheld Photos Blurry Even When Nothing Is Moving?

    Published: Updated:

    You photograph a bookshelf in a quiet room. Nothing is moving, the camera confirms focus, and the picture looks fine on its small screen. At home, the lettering on every book is soft. A still subject does not guarantee a sharp photograph: your hands can move the camera while the shutter is open.

    Before buying anything or adding sharpening, find out what kind of softness you have. This lesson is for handheld photographs of genuinely still objects. For a walking person, a pet, or leaves blowing in the wind, subject movement adds a different problem.

    Look for the shape of the blur

    Open one original file and inspect a detailed area at 100% magnification. Choose printed lettering, a brick edge, or a window frame. Then look at another part of the image at a similar distance from the camera.

    • Several edges trail in the same direction: camera movement is a likely cause. The amount may vary across the frame, particularly when the camera rotates.
    • Something in front of or behind your subject looks sharper: check where the camera focused. A green confirmation box means it acquired focus somewhere, not necessarily on your intended detail.
    • A thin slice is sharp while nearby details soften gradually: you may simply have less depth of field than the subject needs.

    These are clues, not a perfect diagnosis. Blur types can overlap. A controlled comparison is more useful than trying to identify everything from one photograph.
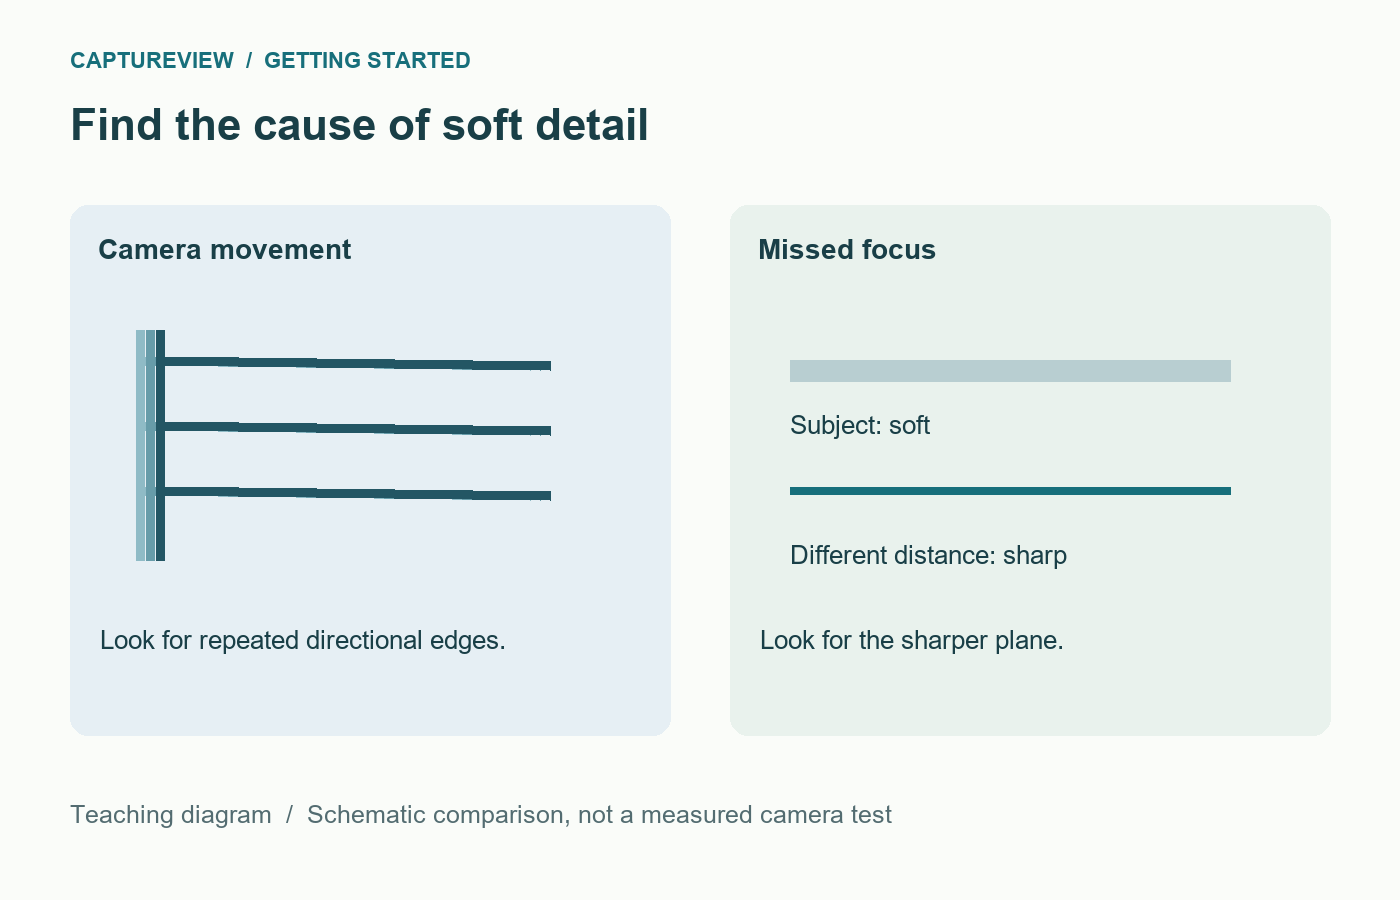
    Diagram contrasting repeated directional edges from camera movement with a sharper plane at a different focus distance
    Directional smearing and a misplaced focus plane are different clues. This schematic illustrates the distinction; it is not a measured camera test.

    Give yourself a faster shutter speed

    For a short or normal lens, try 1/250 second as a deliberately conservative test in reasonable light. With a long lens, heavy cropping, or an unsteady stance, try a faster speed. The familiar reciprocal-focal-length guideline is a starting point, not a personal sharpness guarantee. Sensor size, resolution, viewing size, support, and stabilisation all affect the result.

    Use shutter priority and Auto ISO if your camera provides them. Select 1/250 second, focus carefully on the book lettering, and take three separate pictures. Check whether the camera has enough light: if the aperture display flashes or you reach an ISO limit, the result may be underexposed. Move closer to a bright window or use a wider aperture before continuing.

    If you prefer aperture priority, watch the shutter readout as the room gets darker. An aperture of f/8 may leave the camera using 1/15 second without drawing your attention to it. The setting that worked outdoors can become a problem indoors.
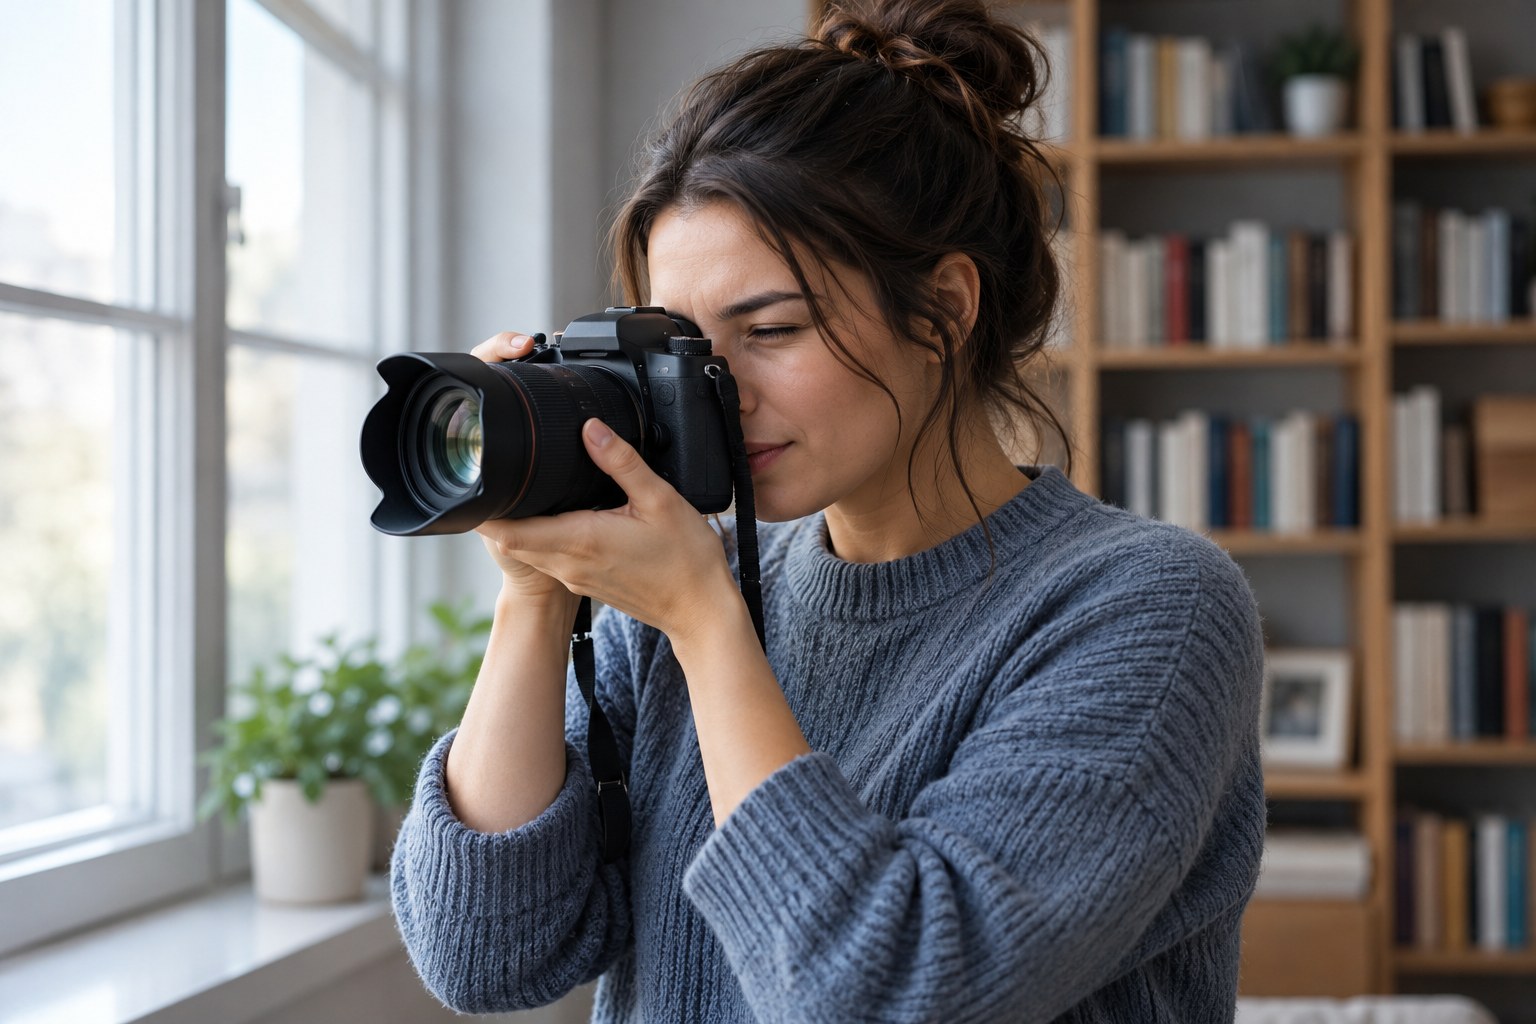
    Person supporting a camera lens from below while using the viewfinder beside a window
    Support the lens from below and keep the camera close to your body. AI-generated teaching illustration; no shutter-speed performance is measured.

    Hold the camera without fighting it

    Support the lens or camera base with your left hand, keep your elbows reasonably close, and press the shutter gently. Stand with balanced feet instead of leaning at full stretch. Bring a viewfinder to your eye when that gives you an extra point of contact. With a screen, avoid holding the camera as far away as your arms will reach.

    A wall or a stable tabletop can help, provided you have permission to use it and the camera cannot slide. Do not lean onto a railing that vibrates whenever someone walks past. Take the picture during a natural pause in your breathing rather than forcing an uncomfortable breath hold.

    What stabilisation can and cannot change

    Optical or sensor-based stabilisation can reduce the effect of camera shake. It cannot hold a moving person still. Check that the feature is enabled for handheld use, and follow your camera or lens instructions for any activation delay and tripod behaviour. Do not assume a quoted number of stabilisation stops is a promise for every photograph.

    Phones can combine several exposures, so a bright preview may disguise a longer capture process. In a dim room, hold the phone steady until capture finishes. For this exercise, use the main camera without digital zoom and clean the lens with a suitable cloth first.

    A six-picture test you can repeat

    Choose a flat, detailed subject in steady daylight. Keep your distance and focal length fixed. Use shutter priority, Auto ISO, and the same focus point. Make three frames at 1/60 second and three at 1/250 second. Avoid a close subject or an extremely wide aperture that would make depth of field the main variable. If changing aperture affects the comparison, repeat in manual exposure with a fixed aperture and Auto ISO, if supported.
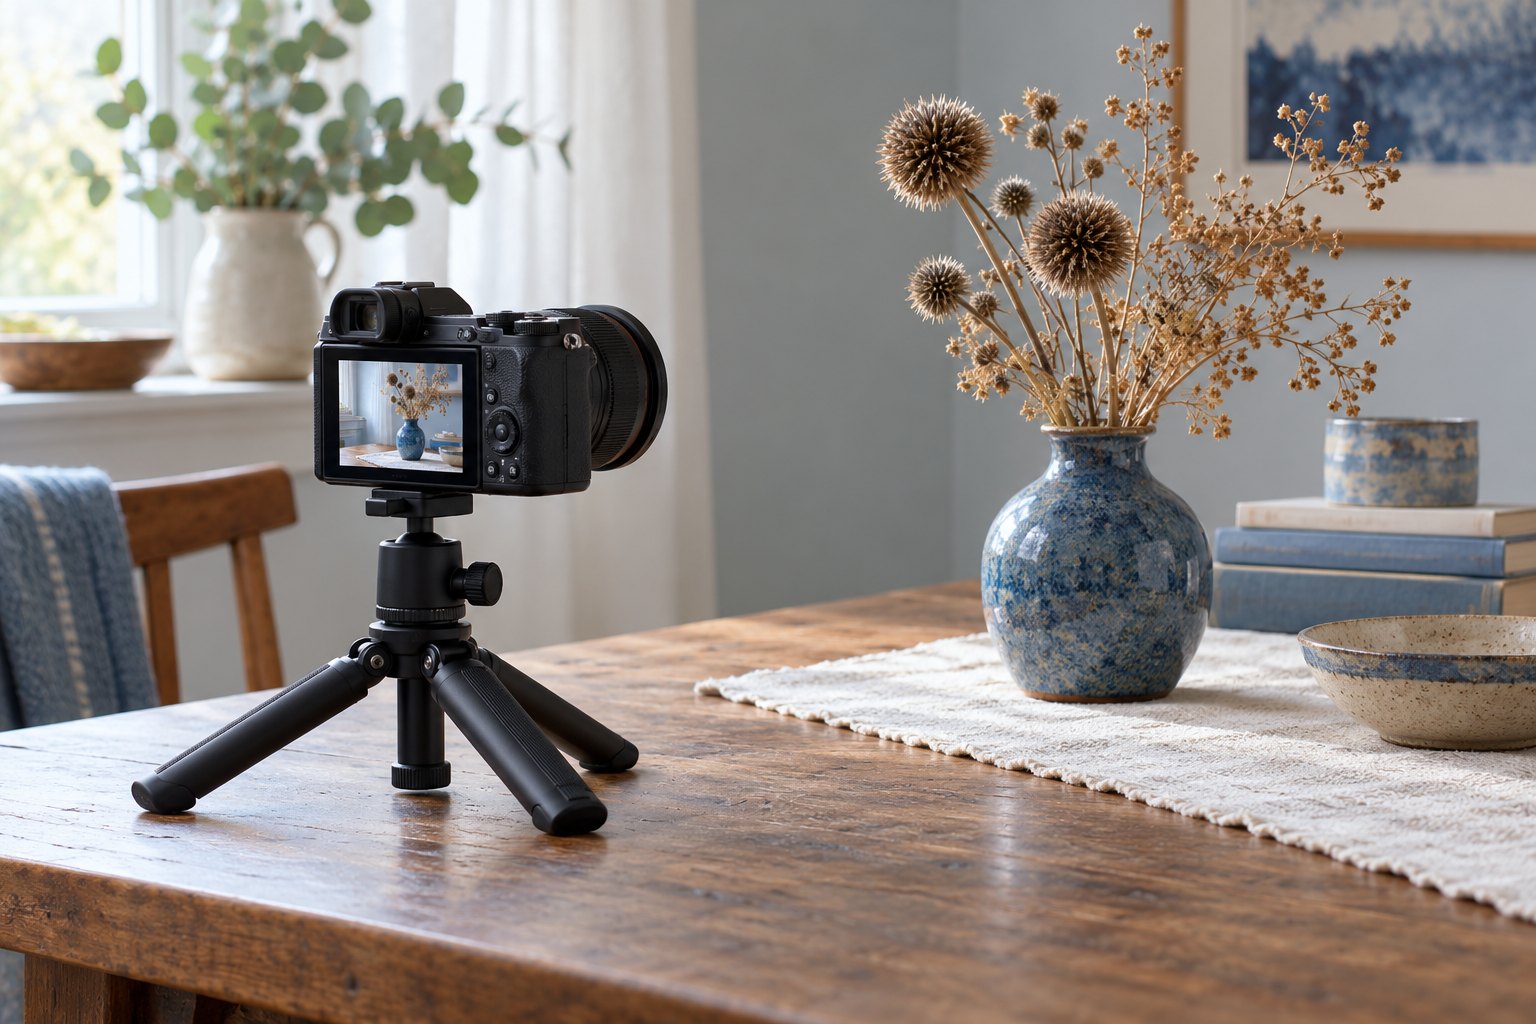
    Camera on a low tripod aimed at a still ceramic vase beside a window
    For a supported comparison, keep the camera secure and the subject still. A short timer can remove your touch from the exposure. AI-generated teaching illustration.

    Compare the lettering at the same magnification. Count usable frames in each set rather than selecting only the best one. If the faster group is consistently clearer, you have a practical shutter-speed starting point for that lens and stance. If both groups are soft, use a stable support and check focus again.

    When speed does not solve it

    If another distance is sharp, work through choosing an autofocus area for a still subject. If your aperture or ISO keeps changing unexpectedly, read what to check in aperture priority. When the background is sharp but a person is blurred, use the separate lesson on subject movement.

    Near gate latch and peeling green paint in focus with a more distant garden wall softened
    Inspect the intended detail and another distance. A sharper background can point to misplaced focus rather than hand movement. AI-generated teaching illustration.

    Compare the files at the size you plan to share. Visible noise may be acceptable if the intended detail is sharp; keep the originals for a closer check of noise and blur.

    Sources and further reading

    Nikon: Vibration Reduction explains camera-shake compensation. Features and performance differ by model; use your own manual for operating instructions.

  • A Simple Photo Review Routine That Helps You Improve

    A Simple Photo Review Routine That Helps You Improve

    Published: Updated:

    You return with a hundred photographs and keep the sharpest one. That is a start, but it does not explain why the next session should be different. A short review can turn the files into useful feedback.

    Review one shoot at a time

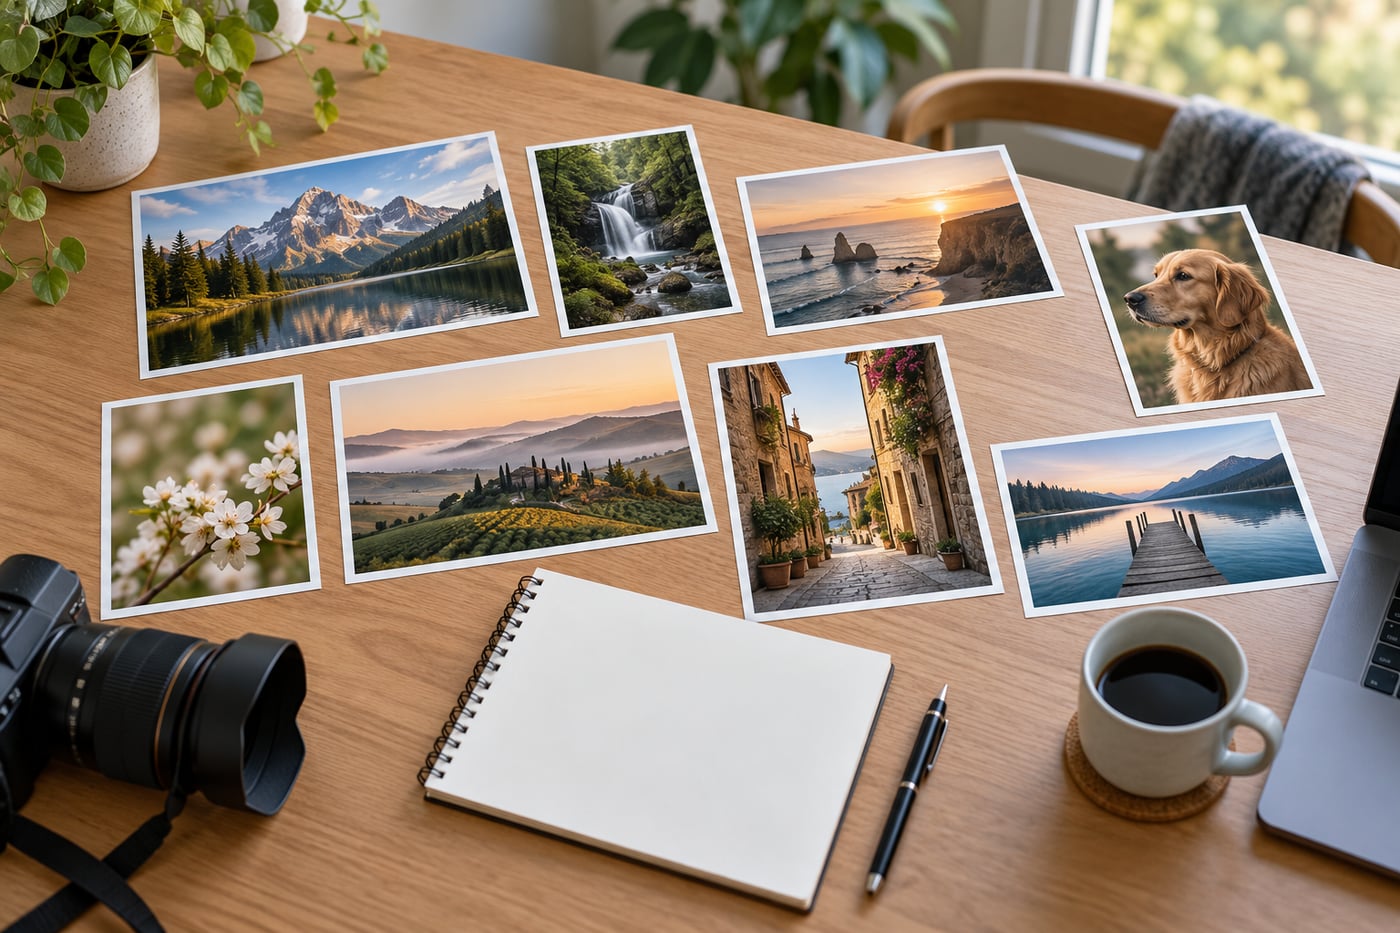
    A small selection from one shoot. Use a short set of photographs made in similar conditions rather than mixing unrelated shoots into the first review. Look at them at the same size, then inspect a few important details more closely. Write one observation you can act on next time; a long list of criticisms is harder to practise.

    Printed photographs arranged beside a notebook for review
    AI-generated teaching illustration. It shows the scene discussed here, not a measured camera test.

    Choose a small comparison set

    Pick three to five frames of the same subject or situation. Comparing unrelated photographs makes it harder to identify what changed. Include an imperfect frame if it illustrates a useful difference.

    View them at the same size and similar brightness. A larger or brighter preview can seem more appealing for reasons unrelated to the photograph.

    Ask what the photograph is about

    Look for the first thing you notice. Does it match your intended subject? A bright sign, an edge, or a background face may be pulling attention away.

    If the subject is unclear, choose a framing task for next time. Moving position or waiting for an overlap to clear may help more than changing camera settings.

    Check sharpness after judging the whole frame

    Magnify the important detail. Is the focus distance wrong, is the subject moving, or is there camera shake? Check recorded shutter speed, aperture, and ISO when available, after judging the image itself. This keeps impressive-looking settings from deciding which photograph you prefer.

    Do not reject an expressive photograph merely because an irrelevant corner is soft. Decide which details needed to be sharp for that photograph to work.

    Look at the light and timing

    Compare shadow shape and the bright areas. Which face direction or camera position used the light more effectively? For action or expressions, compare the moment rather than only the technical settings.

    A useful frame may have come from waiting, not from a new piece of equipment. Record that observation too.

    Write one reason to keep a frame

    “I like it” is a valid reaction but weak practice guidance. Try a concrete note: “The lower viewpoint removed the car behind the person,” or “The faster shutter kept the hand sharp.”

    Then write one thing to change. Avoid a list of ten faults that leaves you unsure what to practise first.

    Make the next task small

    If backgrounds caused trouble, make three viewpoints of one subject. If movement blurred the subject, compare two shutter speeds. If colour distracted, compare white balance under one steady light source.

    Keep the selected files and notes together, and preserve originals before editing. Use the first-week plan for structure and camera basics when a control needs explaining. Keep one observation with the selected files and use it to choose a task for the next session.

    If every note says “not sharp”, distinguish focus error from subject movement and camera shake. If you cannot explain an edit, compare it with the original and reduce one adjustment before adding another.

    Related lessons

    Sources and further reading

    Adobe: learning by comparing edits.

  • Why Is Your Moving Subject Blurry When the Background Is Sharp?

    Published: Updated:

    The pavement is sharp, but the cyclist is a streak. That is a useful clue: the camera probably stayed steady enough to record the background, while the subject moved during the exposure.

    Check the movement in the frame

    A moving subject and a reasonably steady camera. The diagnostic steps are easiest when you can compare several frames of the same movement. A cyclist passing across the frame is a different case from someone walking towards you: both speed and direction affect the result. Check the recorded shutter speed and the intended focus target before blaming the lens.

    Runner crossing a park path with movement in the feet
    AI-generated teaching illustration. It shows the scene discussed here, not a measured camera test.

    Before changing autofocus settings, check the shutter speed recorded with the photograph.

    Separate subject movement from missed focus

    Motion blur often has a direction. A hand, wheel, or person stretches along its movement. Missed focus more often looks like soft edges without a clear streak, while another distance in the scene may look sharp.

    These are clues, not perfect diagnoses. Focus error and movement can happen in the same frame. Magnify the subject and a stationary background detail before choosing a fix.

    Use a faster shutter for a still-looking subject

    Try shutter priority, labelled S or Tv on many cameras. A walking person might be a useful test at around 1/500 second; faster action can need 1/1000 or more. Compare the result rather than treating those numbers as guarantees.

    Movement across the frame can show more blur than movement towards the camera. Distance, focal length, and final display size also affect how much movement you notice.

    Watch what exposure has to give up

    A faster shutter records light for less time. The camera may open the aperture or raise Auto ISO to compensate. In dim light, the lens can reach its widest aperture and the photograph may still be too dark.

    Check the display for exposure warnings. Add light, increase ISO, or choose a slower speed if some blur is acceptable. A sharp subject with visible noise can be preferable to a clean file with unwanted motion blur.

    Use continuous autofocus for changing distance

    If the subject moves towards or away from you, continuous autofocus can help keep the focus distance updated. Names include AF-C and AI Servo. Choose a suitable focus area and keep it on the subject.

    Check focus and shutter speed separately: a faster exposure cannot correct focus on the background, and continuous autofocus cannot freeze the subject during the exposure.

    What stabilisation can and cannot do

    Image stabilisation reduces the effect of camera movement in suitable conditions. It cannot keep a moving person still during a long exposure. That is why a background can look sharp while a hand is blurred, even with stabilisation enabled.

    When blur belongs in the photograph

    For a sense of speed, you may want a blurred background and a recognisable subject. Panning follows the subject during exposure. Start with a manageable subject in a safe place, turn smoothly, and compare several shutter speeds. Expect an uneven success rate while learning.

    For ordinary practice, take a faster-shutter version first so you have a comparison. Then decide whether blur adds something.

    Read focus and sharpness and camera modes for the next adjustments.

    Related lessons

    Sources and further reading

    Nikon: photographing movement.

© 2026 CaptureView. All rights reserved.