You photograph a bookshelf in a quiet room. Nothing is moving, the camera confirms focus, and the picture looks fine on its small screen. At home, the lettering on every book is soft. A still subject does not guarantee a sharp photograph: your hands can move the camera while the shutter is open.
Before buying anything or adding sharpening, find out what kind of softness you have. This lesson is for handheld photographs of genuinely still objects. For a walking person, a pet, or leaves blowing in the wind, subject movement adds a different problem.
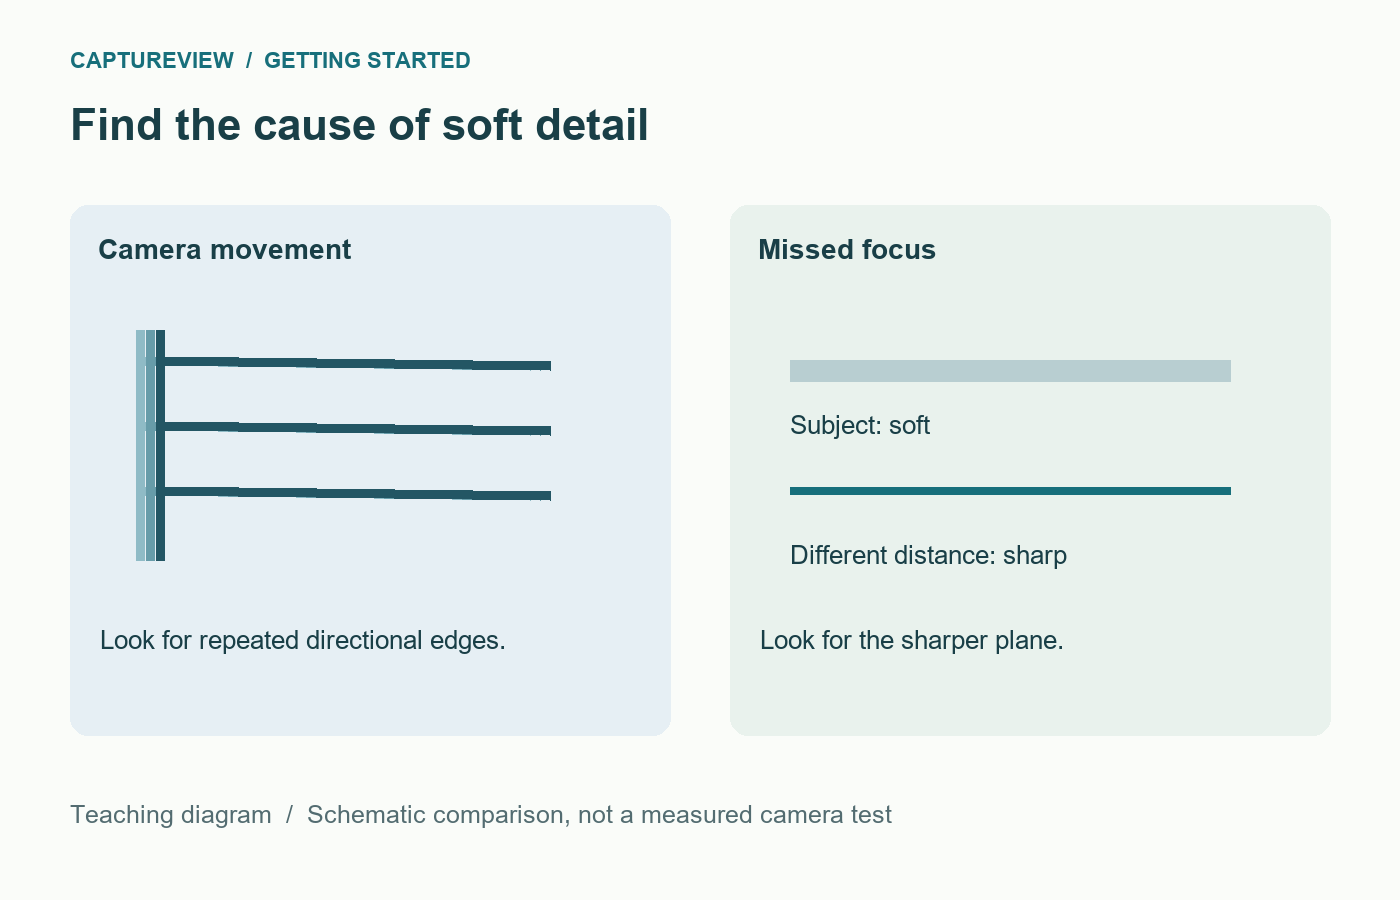
Look for the shape of the blur
Open one original file and inspect a detailed area at 100% magnification. Choose printed lettering, a brick edge, or a window frame. Then look at another part of the image at a similar distance from the camera.
- Several edges trail in the same direction: camera movement is a likely cause. The amount may vary across the frame, particularly when the camera rotates.
- Something in front of or behind your subject looks sharper: check where the camera focused. A green confirmation box means it acquired focus somewhere, not necessarily on your intended detail.
- A thin slice is sharp while nearby details soften gradually: you may simply have less depth of field than the subject needs.
These are clues, not a perfect diagnosis. Blur types can overlap. A controlled comparison is more useful than trying to identify everything from one photograph.
Give yourself a faster shutter speed
For a short or normal lens, try 1/250 second as a deliberately conservative test in reasonable light. With a long lens, heavy cropping, or an unsteady stance, try a faster speed. The familiar reciprocal-focal-length guideline is a starting point, not a personal sharpness guarantee. Sensor size, resolution, viewing size, support, and stabilisation all affect the result.
Use shutter priority and Auto ISO if your camera provides them. Select 1/250 second, focus carefully on the book lettering, and take three separate pictures. Check whether the camera has enough light: if the aperture display flashes or you reach an ISO limit, the result may be underexposed. Move closer to a bright window or use a wider aperture before continuing.
If you prefer aperture priority, watch the shutter readout as the room gets darker. An aperture of f/8 may leave the camera using 1/15 second without drawing your attention to it. The setting that worked outdoors can become a problem indoors.
Hold the camera without fighting it
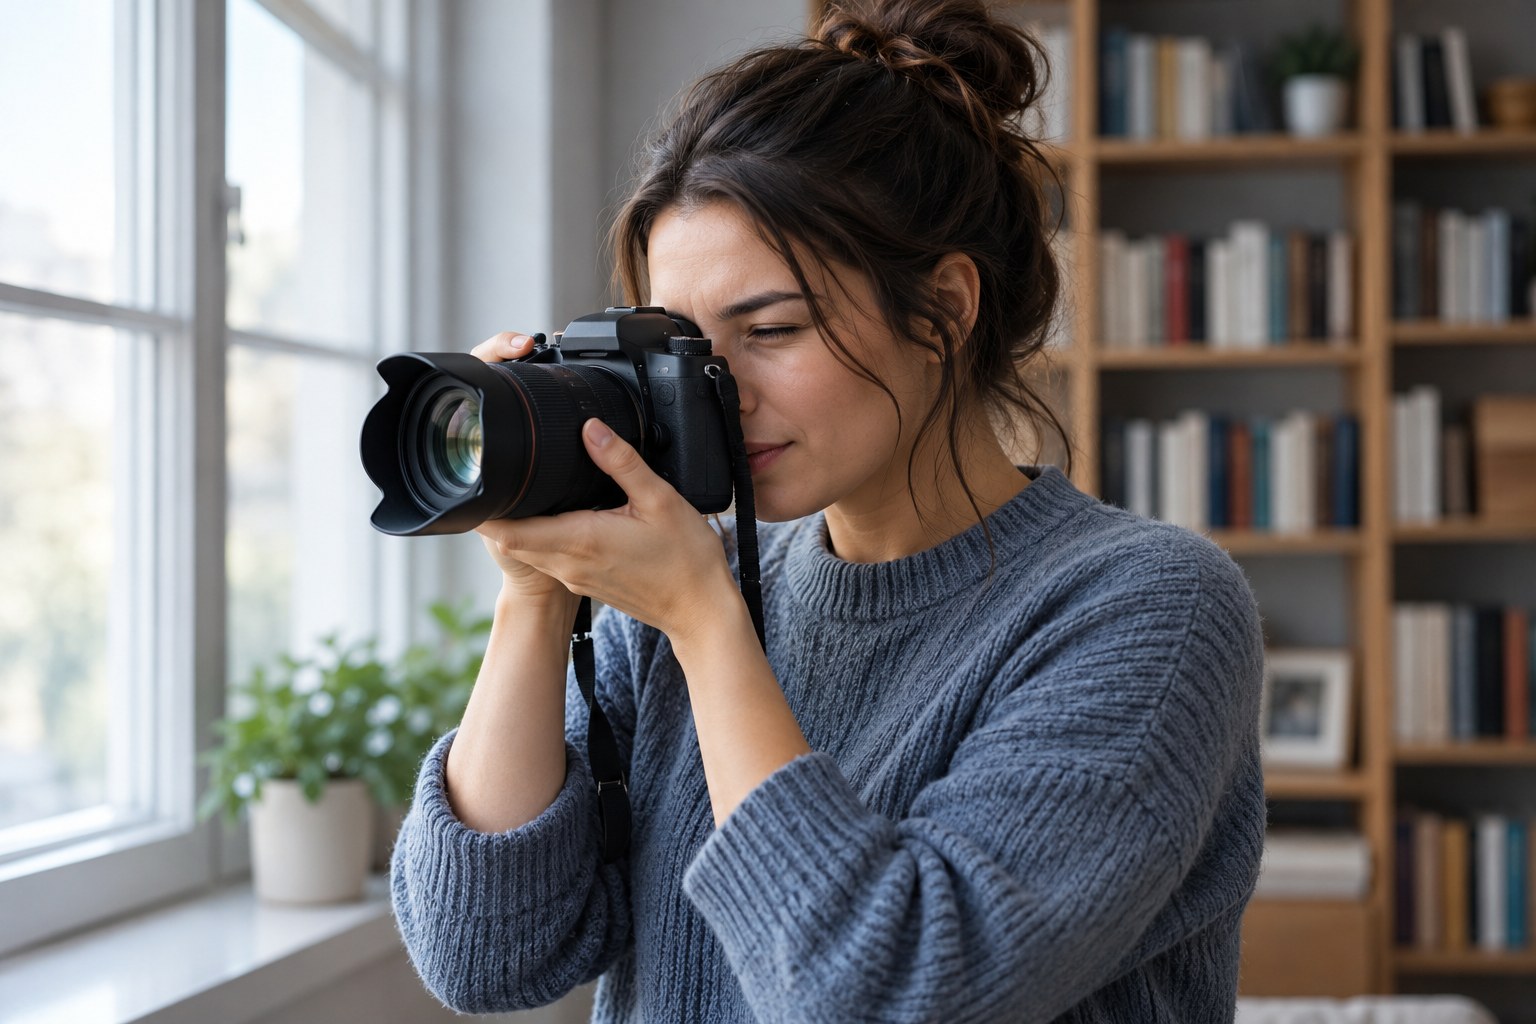
Support the lens or camera base with your left hand, keep your elbows reasonably close, and press the shutter gently. Stand with balanced feet instead of leaning at full stretch. Bring a viewfinder to your eye when that gives you an extra point of contact. With a screen, avoid holding the camera as far away as your arms will reach.
A wall or a stable tabletop can help, provided you have permission to use it and the camera cannot slide. Do not lean onto a railing that vibrates whenever someone walks past. Take the picture during a natural pause in your breathing rather than forcing an uncomfortable breath hold.
What stabilisation can and cannot change
Optical or sensor-based stabilisation can reduce the effect of camera shake. It cannot hold a moving person still. Check that the feature is enabled for handheld use, and follow your camera or lens instructions for any activation delay and tripod behaviour. Do not assume a quoted number of stabilisation stops is a promise for every photograph.
Phones can combine several exposures, so a bright preview may disguise a longer capture process. In a dim room, hold the phone steady until capture finishes. For this exercise, use the main camera without digital zoom and clean the lens with a suitable cloth first.
A six-picture test you can repeat
Choose a flat, detailed subject in steady daylight. Keep your distance and focal length fixed. Use shutter priority, Auto ISO, and the same focus point. Make three frames at 1/60 second and three at 1/250 second. Avoid a close subject or an extremely wide aperture that would make depth of field the main variable. If changing aperture affects the comparison, repeat in manual exposure with a fixed aperture and Auto ISO, if supported.
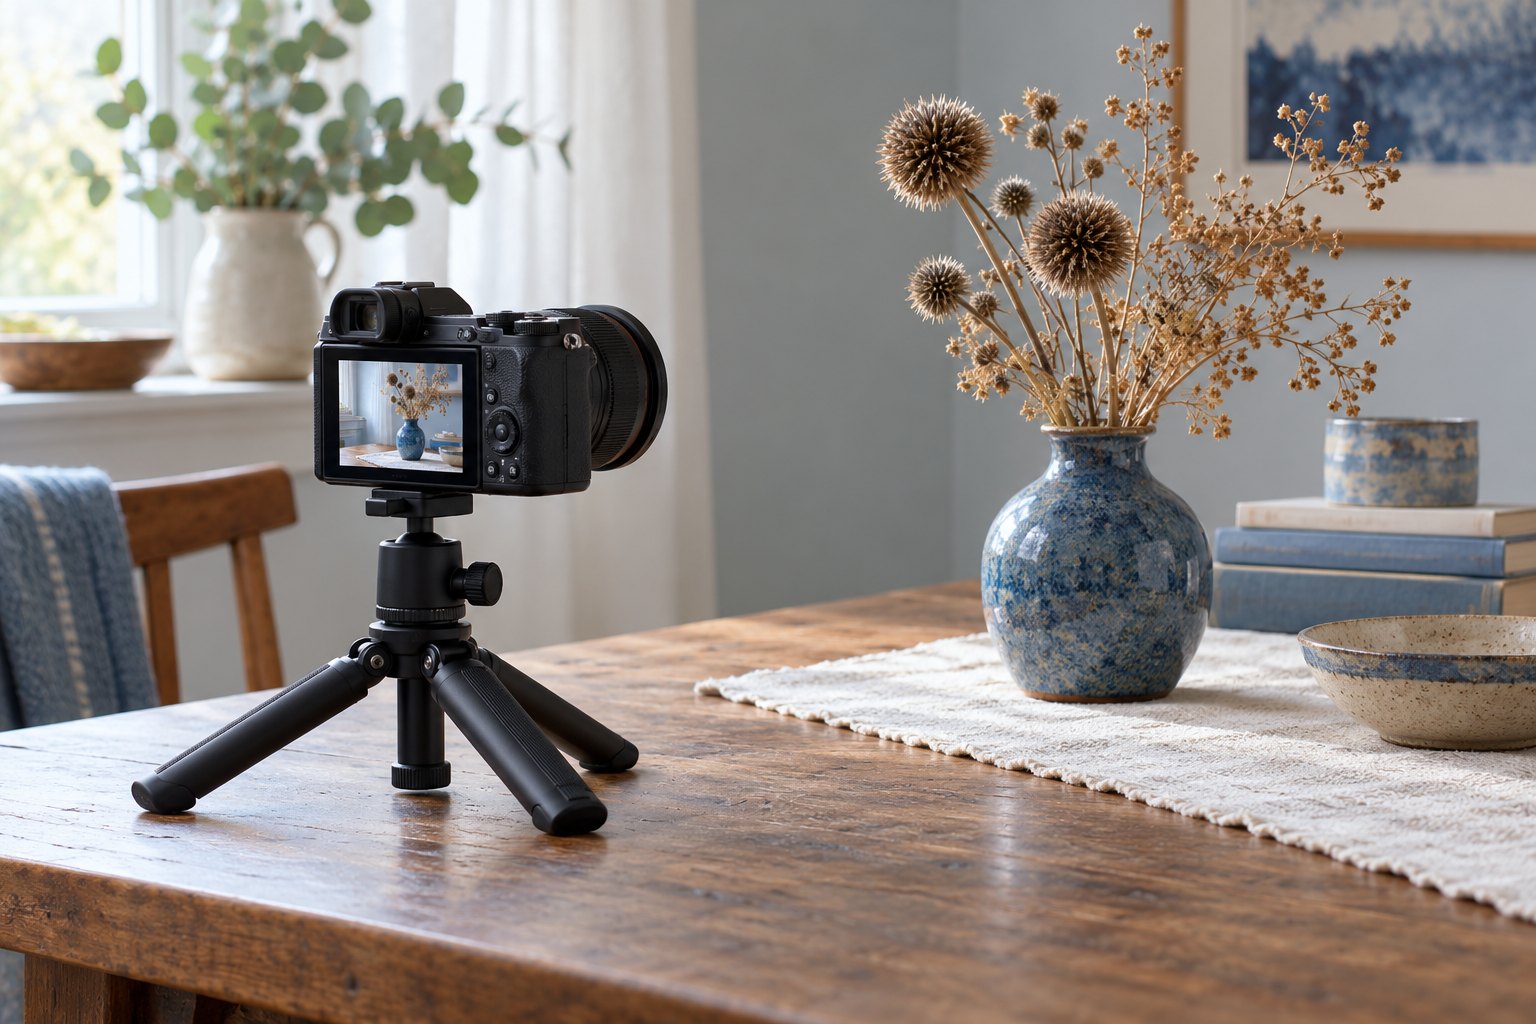
Compare the lettering at the same magnification. Count usable frames in each set rather than selecting only the best one. If the faster group is consistently clearer, you have a practical shutter-speed starting point for that lens and stance. If both groups are soft, use a stable support and check focus again.
When speed does not solve it
If another distance is sharp, work through choosing an autofocus area for a still subject. If your aperture or ISO keeps changing unexpectedly, read what to check in aperture priority. When the background is sharp but a person is blurred, use the separate lesson on subject movement.

Compare the files at the size you plan to share. Visible noise may be acceptable if the intended detail is sharp; keep the originals for a closer check of noise and blur.
Sources and further reading
Nikon: Vibration Reduction explains camera-shake compensation. Features and performance differ by model; use your own manual for operating instructions.
Leave a Reply