A window can give you a useful portrait setup without flash. The first decision is where the person sits or stands. Put them beside the window, turn their face slightly towards it, and watch the shadow on the farther cheek.
Start with indirect window light
Indirect window light and a fairly still adult. Start with a person who can hold a comfortable position beside a window. These suggestions assume one main daylight source; a bright lamp elsewhere in the room changes the colour problem. Children, gestures, or a head turning quickly may need a faster shutter speed than the example starting point.
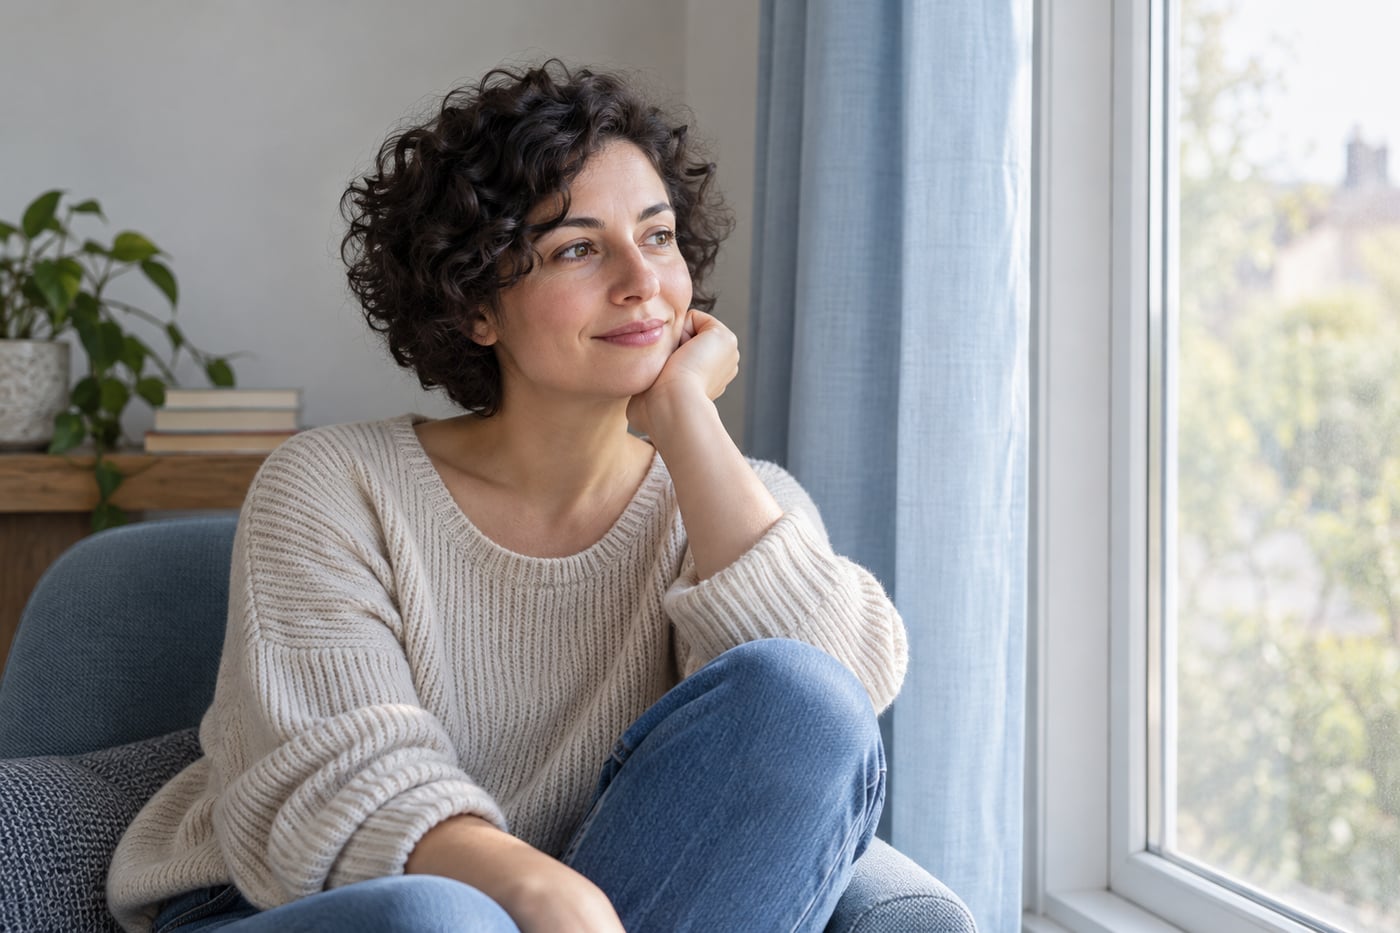
Choose a window with manageable light
Indirect daylight is an easy starting point. Direct sun can create a bright patch on the face and a hard-edged shadow. If that is not the look you want, move away from the patch, use a sheer curtain if available, or choose another time.
Turn off nearby lamps if they add orange or green light. Mixed lighting is difficult to correct evenly because different parts of the face can have different colours.
Start beside the window
Place the person with one shoulder nearer the window. Ask them to turn towards the light a little at a time. Watch the eyes and both cheeks. A small turn can change the portrait more than moving several metres.
Moving farther into the room usually reduces the available light. It can also change the contrast, depending on the room and window. Judge the face rather than following a fixed distance.
Make the background a separate decision
Look behind the person before taking a frame. A plain wall, curtain, or quiet room corner can work. Leave space between the person and the background when the room allows it.
Do not make the subject uncomfortable just to obtain blur. A relaxed person in a slightly detailed setting can be a stronger portrait than a stiff pose against an empty background.
Focus and exposure
Use the nearer eye as your focus target, or reliable eye-detection autofocus. Start around 1/250 second for a fairly still adult, then adjust after checking movement and camera shake. Animated expressions and children may need faster speeds.
A wide aperture can soften the background, but the widest setting is not always useful. If one eye is soft or focus is inconsistent, try a narrower aperture and check again. Raise ISO when necessary to keep a suitable shutter speed.
Soften the darker side if needed
A white wall or reflector can return some light to the shadow side. Bring it closer for a stronger effect, then compare. You do not have to remove every shadow; shadows help describe the face.
Keep the directions small
Ask permission before photographing. Explain one change at a time: turn towards the window, relax a shoulder, or look just beside the camera. Give the person time to settle before pressing the shutter.
Make three frames with slightly different face directions, keeping the camera and background steady. Compare cheek shadows, eye light, and expression. Ask the person which feels most like them.
For troubleshooting, read focus and sharpness and the portrait practice lesson.
Keep the camera and background steady as the person turns towards and away from the window. Compare the shadow under the nose as well as both eyes. If increasing exposure washes out a cheek, adjust the light direction or shadow fill first.
Related lessons
- How to Photograph People in Open Shade Without Flat-Looking Light
- How to Choose an Autofocus Area for a Still Subject
Leave a Reply