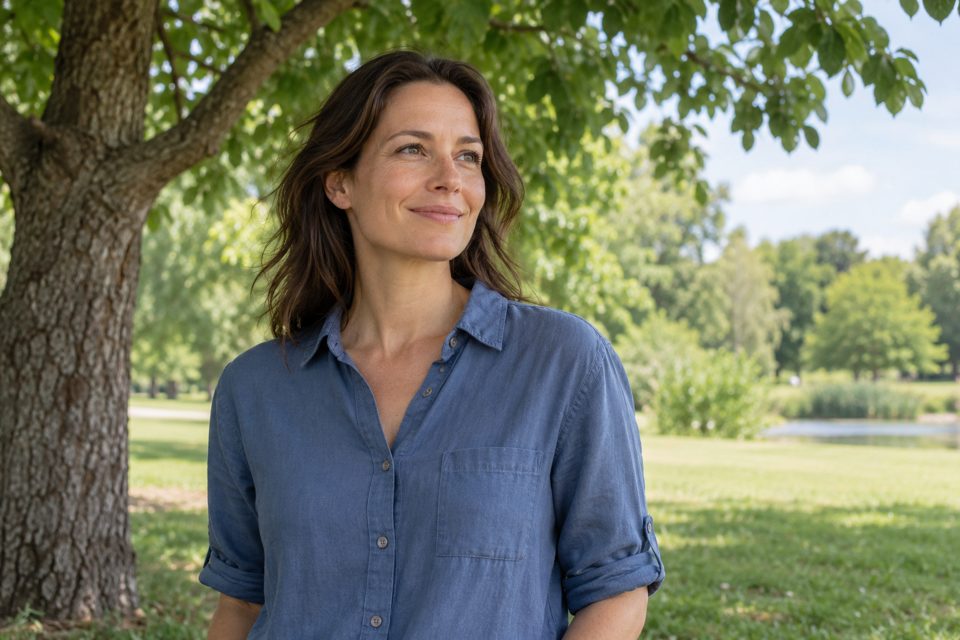
Shade removes direct sun from the face, but it does not remove the direction of light. A person deep beneath a roof may have dark eyes, while the same person near the edge of the shade receives more light from the open sky.
Look for a bright opening
Open shade with daylight coming from one main direction. Look for an open edge of shade, such as the side of a building, rather than treating every shaded spot as equivalent. A person can look quite different facing the open sky or the dark wall. Coloured walls and foliage nearby may reflect a tint onto the face.

Find shade that opens towards light
Look for a doorway, the side of a building, or a shaded area with a clear view towards the sky. Stand where the person will be and look around. Which direction feels brightest?
Keep the person fully out of direct sun. Small patches of sunlight through leaves can create distracting bright spots that move across the face.
Turn towards the bright side
Ask the person to turn a little towards the open light. Watch the eyes and the shadow beneath the brow. Compare a frame facing into the darker area with one facing towards the opening.
You do not need perfectly even light. A gentle difference between the cheeks can give the face shape. Make small changes and let the person settle before shooting.
Check the background separately
A sunlit background can be much brighter than the shaded face. If you expose for the person, the background may lose detail. If you expose for the background, the person may look too dark.
Change your position to place a less bright area behind the subject. Moving both photographer and subject can be easier than trying to preserve every tone with one exposure.
Watch reflected colour
A green lawn or coloured wall can reflect light onto skin. Auto white balance may reduce an overall cast, but it cannot always correct mixed colours evenly. Move away from the strongly coloured surface and compare.
RAW gives more flexibility for processing white balance, but improving the light at capture is still useful. See white balance basics.
Keep the person sharp
Shade can mean less available light. Check shutter speed and ISO rather than assuming daylight is always bright enough. Focus on the nearer eye, and increase the shutter speed if expression or movement produces blur.
Try three face directions in the same shaded spot. Compare eye light, cheek shadows, and skin colour. Then compare with the window-light portrait lesson. In both settings, compare the light in the eyes and the shadows on the cheeks before choosing the face direction.
For a second comparison, keep the face direction steady and move the person farther back into the doorway. Compare the light in the eyes and the shadows beneath the brow with the frame made near the opening.
Related lessons
- Window Light Portraits: Where to Put Your Subject
- Why Your Photos Look Orange Indoors and What to Change
Leave a Reply