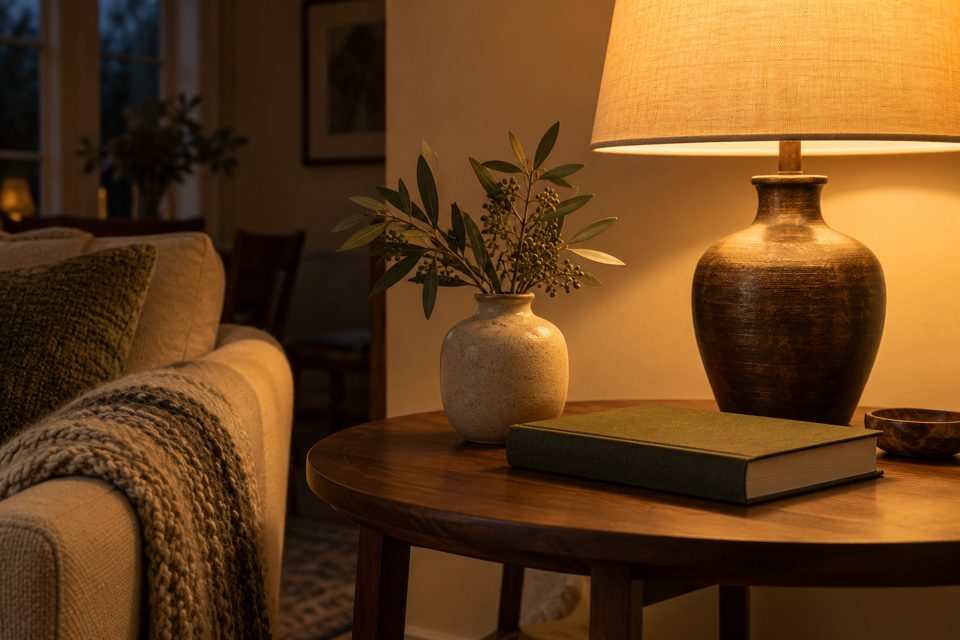
The room looks comfortable, but everyone’s skin looks orange in the photograph. Warm lamps can create that colour, especially when the camera uses a daylight white balance. Start with the light sources before pushing saturation down.
Keep the lighting steady
Steady indoor light during the comparison. Compare white-balance settings while the subject and light sources stay in place. Daylight from a window and a warm lamp can affect different parts of a face, so one global adjustment may not solve the whole image. A neutral reference helps only when it receives the same light as the subject.
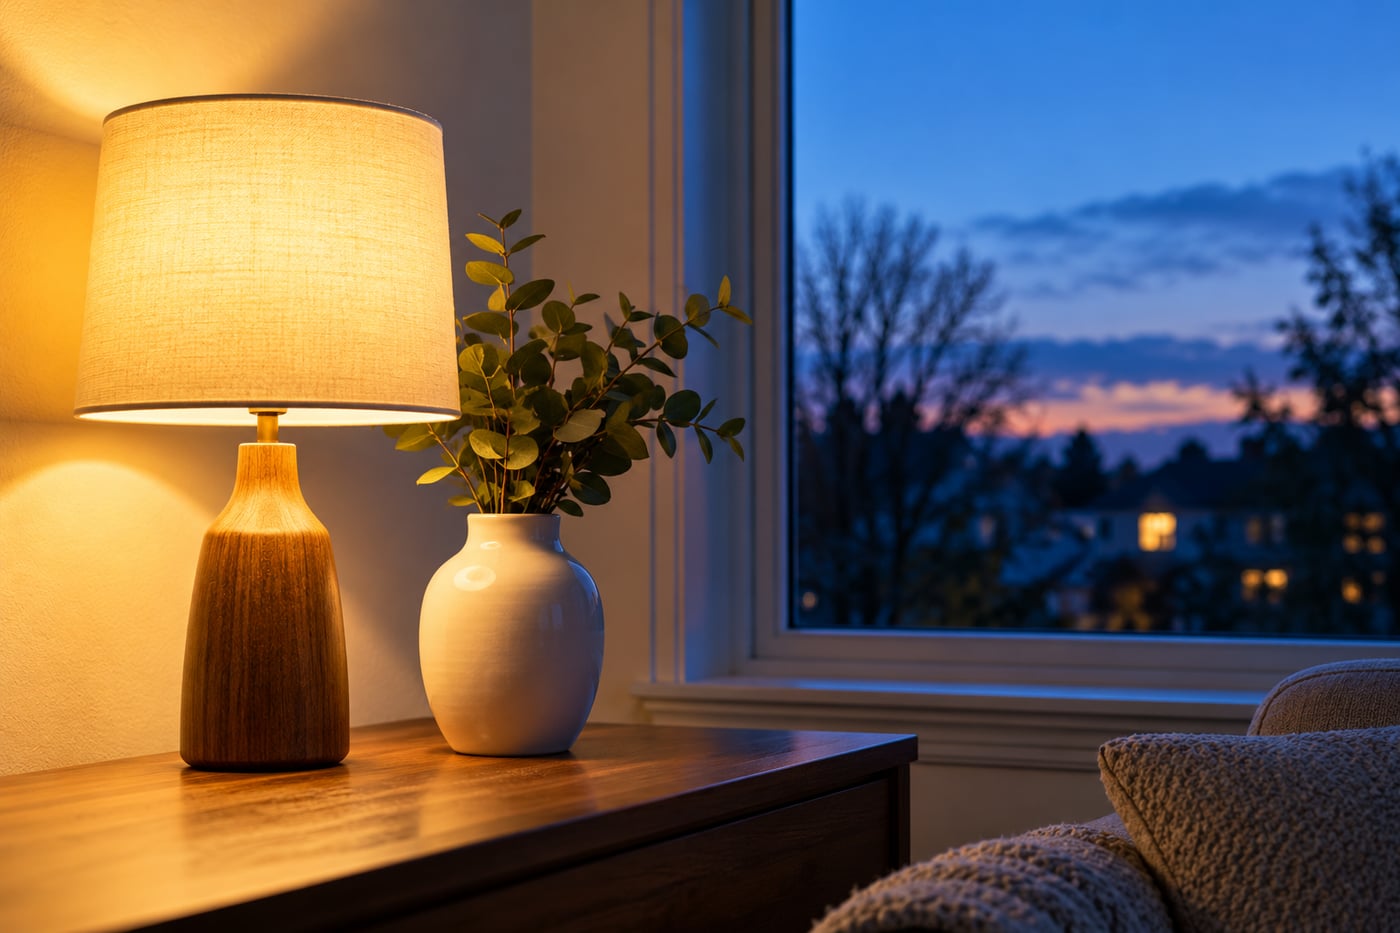
Identify the light on the subject
A face beside a window may receive blue daylight on one side and warm lamp light on the other. One white balance setting cannot always make both sides neutral.
When practical and safe, make a frame with both sources, then switch off the conflicting lamp and repeat. You can also move the person towards one source or change the viewpoint to reduce the mixture. Compare the colour on each side of the face.
Try Auto or an appropriate preset
Auto white balance is a useful starting point. A tungsten or incandescent preset is designed for certain warm lamp conditions, but modern bulbs vary and a preset may overcorrect.
If your camera allows Kelvin adjustments, a lower setting generally renders the same scene cooler. Move gradually and review. A specific number is not a universal solution for every room.
Use a reference carefully
A genuinely neutral object under the same light as the face can help judge colour. A cream wall is not necessarily white, and a white object in different light can give a misleading reference.
Some cameras support custom white balance from a neutral target. Follow the manual and keep the target under the subject’s lighting conditions.
Keep some warmth when it belongs
A candlelit or cosy indoor scene does not need to look like midday outdoors. Aim for skin and surroundings that support the scene. Reducing every warm tone can remove the atmosphere you wanted.
Compare the correction with the original at the same brightness. Colour decisions are harder when one version is much darker.
Correct the file without creating another problem
RAW offers more flexibility for white balance than a processed JPEG. A JPEG can still be adjusted, but strong corrections may leave less natural colour or visible artefacts. Keep the original before editing.
If only one side of a face has a cast, a local correction may help, though improving the lighting at capture is preferable when possible. See files and white balance and restrained editing.
Practise with Auto, a lamp preset, and one manual adjustment under steady lighting. Choose deliberately; the coolest frame is not automatically the most accurate.
Related lessons
- RAW or JPEG for Beginners: Choose a File You Can Actually Use
- How to Edit a Photo Without Making It Look Overprocessed
Leave a Reply