A wider view can bring the room, window, floor, and ceiling into the frame. Check whether those details help explain the subject before including all of them.
Leave room to change your viewpoint
A safe location where viewpoint can be changed. Use the same subject and pay attention to your camera position as well as focal length. If you move closer to keep the subject large with a wider lens, nearby objects become more prominent relative to the distance behind them. Do not step into a road or restricted area to reproduce a composition.
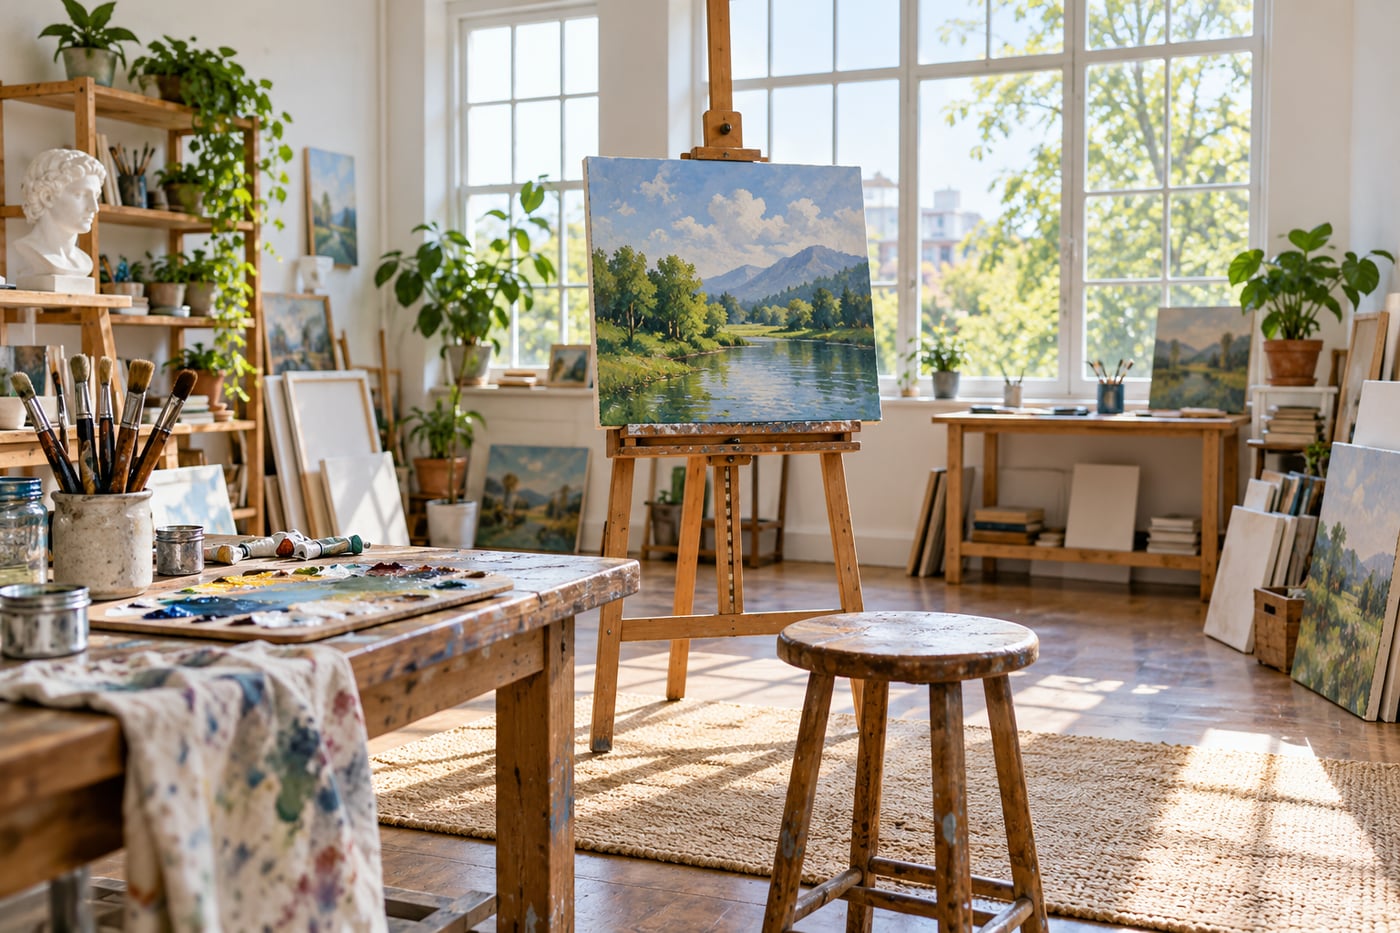
Choose what the extra space explains
A wider view can connect a subject to its surroundings: a person in a workshop or a tree beside a path. If the extra space only adds furniture, signs, or bright corners, a tighter frame may communicate more clearly.
Before zooming wider, finish this sentence: “I want to include the surroundings because…” If the answer is unclear, make a narrower version for comparison.
Close objects can dominate
Using a wide view often encourages you to move closer. From a close viewpoint, nearby objects look larger relative to distant ones. A foreground rock can become an anchor; an accidental hand near the lens can become a distraction.
This relationship comes from camera position. Changing focal length from the same position changes framing. Moving the camera changes perspective. Keep that distinction in mind when comparing lenses.
Check all four edges
A wide frame can gather details you did not notice while looking at the subject. Scan the edges for bright lamps, half-visible people, and awkward cuts. Also check whether important objects near the corners look stretched in a way you dislike.
For people, avoid placing faces very close to the edges of an extremely wide view unless the effect is deliberate.
Watch camera tilt around buildings
Pointing the camera upwards makes vertical lines converge. This can communicate height, but it may be distracting in a straightforward room photograph. Keeping the camera level changes the framing and can reduce convergence.
Perspective corrections in editing can require a crop and stretch detail. Leave room if you expect to correct the frame later, and inspect the result rather than assuming software will solve it cleanly.
A useful comparison
- Choose a subject with a clear surrounding setting.
- Make a wide frame from your first position.
- Make a tighter frame without moving.
- Move and make a new wide frame that removes one distraction.
Compare context, foreground scale, and the edges. Read focal length and camera position and composition for the next experiment.
Related lessons
- How to Simplify a Busy Background Before You Take the Photo
- How to Use Leading Lines Without Pulling Attention Away From Your Subject
Leave a Reply