A dramatic sky can fill most of a landscape. On a cloudless day, the same amount of sky may leave the photograph feeling empty. Horizon placement starts with what is interesting in the scene, then asks how much room that subject needs.
Decide what the scene is about
Start with a visible horizon and one subject. Decide whether the photograph is mainly about the sky, the land, or their relationship before moving the horizon. Reflections and symmetrical scenes may support a centred placement. Check that a small camera tilt has not made water or a distant shoreline look unintentionally slanted.
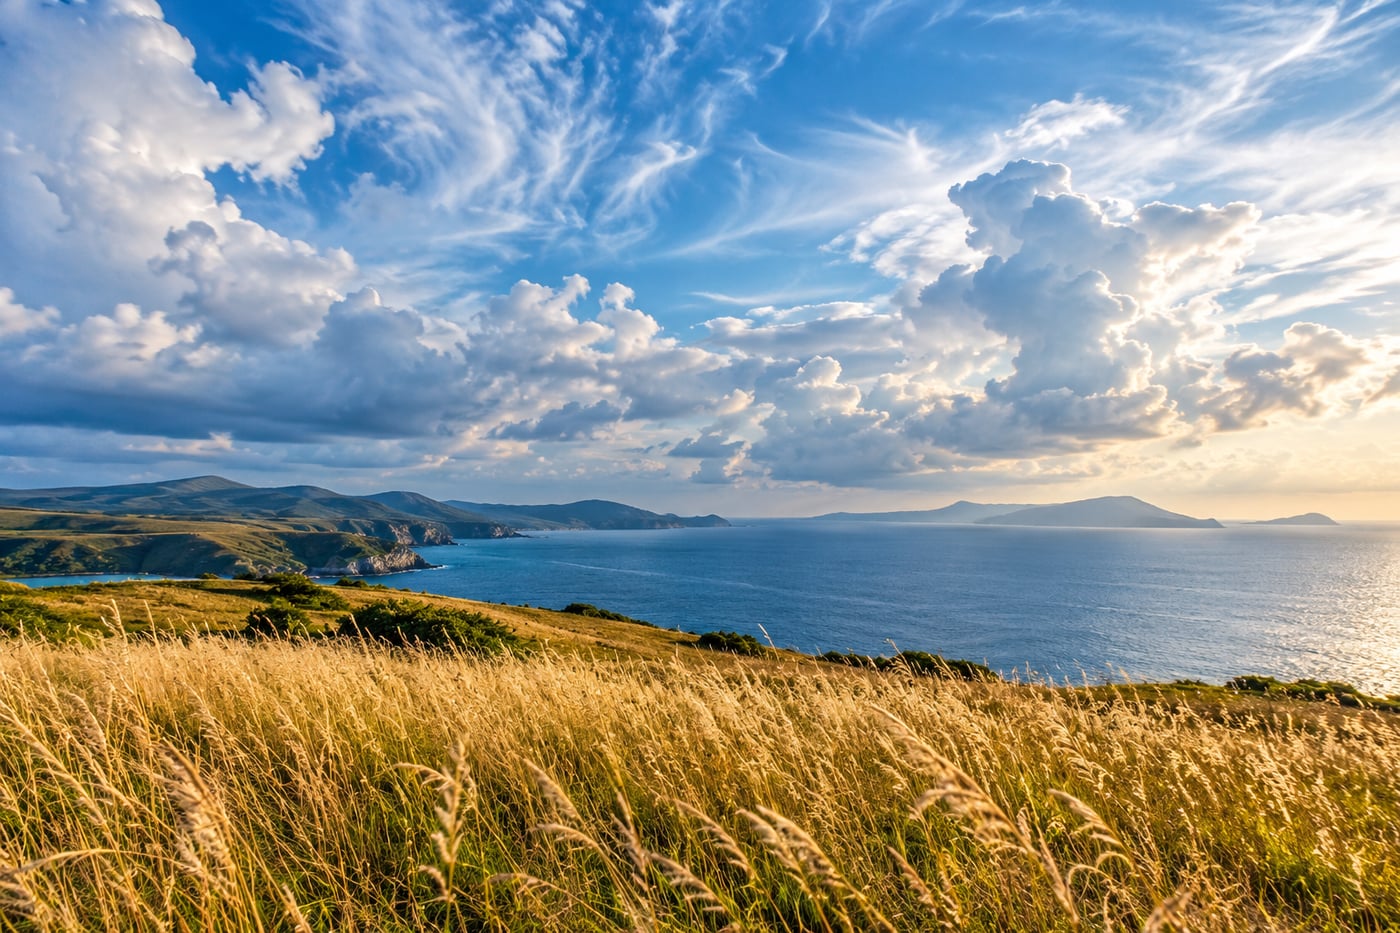
Give space to the part carrying the photograph
If cloud shape and light matter, try a lower horizon. If textures, a path, or reflections in the foreground matter, try a higher one. A thirds grid is a convenient comparison point. It gives you a place to begin, not a coordinate you have to obey.
Make two frames before settling on one. A lower horizon can make distant hills feel smaller and open more sky above them. A higher one may bring the viewer into the foreground. Look at the actual balance of your scene: a small patch of bright cloud can attract more attention than a much larger area of dark ground.
Try turning off the grid for a moment and ask what you noticed first when you looked at the scene. Then turn it back on and see whether a grid line helps you position the horizon. This keeps the tool in its proper role. The grid can help you compare a composition, while your subject and the light decide whether that comparison works.
A centred horizon can work
Symmetry and reflections sometimes benefit from a central division. Moving the horizon away from the centre just to follow a rule can weaken that balance. A calm lake that reflects a mountain may need similar room above and below the shoreline. If small ripples distort the reflection, the upper half may need more space so the mountain remains the subject.
Check whether the two halves have a meaningful relationship. A reflection with strong detail is different from a large blank area that happens to be symmetrical. A centred horizon can also make a useful frame when the sky and land carry equal weight, as in a line of storm clouds over a patterned field.
When you use a central horizon, keep the camera level and inspect the line carefully. A small tilt becomes easy to see when the horizon divides the photograph in half. If the subject is not symmetrical, consider moving the horizon a little higher or lower rather than forcing a perfect midpoint.
Separate placement from level
You can choose a high horizon and still accidentally tilt it. Use a camera level or grid if available, then inspect the scene itself. A sloping hillside is not a horizontal reference; a calm distant waterline may be more useful. In a coastal scene, waves close to the camera can slope as they meet the beach, so compare the distant sea line rather than the edge of the foam.
If you straighten the photograph in editing, the crop can remove useful detail from the corners. Leave a little margin when the framing allows it, but avoid relying on a large correction for every frame. When the horizon is hidden by trees or buildings, check vertical structures and the general balance of the scene instead of inventing a straight line that is not visible.
Turn on the grid before the exposure if your camera offers one. Some cameras show a level indicator in the viewfinder or on the screen. These aids can save time, though they do not choose the right height for the horizon. Review the image at normal size after capture; tiny alignment marks can be hard to judge while you are still composing.
Check what crosses the horizon
A tree, person, or building can become difficult to read when its outline merges with a distant ridge. Move a little or change camera height to separate them. A small shift can place the mountain line below a person’s shoulder or move a branch away from the edge of a building.
A lower viewpoint may put a person against the sky. A higher viewpoint may put them against land. Compare which background gives the clearer outline. If the subject is a lighthouse or a tree, watch for the horizon cutting through its most recognisable part. The horizon can stay in the same place while your camera shifts sideways to improve that separation.
Check the frame edges as well. A horizon that enters the image at one height and leaves at another may be intentional when the land slopes. If the slope is not part of the scene, level the camera before taking another frame. Look for poles, roofs, or bright gaps that touch the horizon and create distracting tangencies.
Check whether the foreground adds useful detail
A high horizon exposes a larger foreground area. More foreground does not automatically create depth if it is unrelated or messy. Choose a detail that belongs, such as a line of rocks, a path, or a patch of grasses, or tighten the composition so less empty ground remains.
For a close foreground, inspect near and far sharpness. Read landscape focus choices rather than assuming horizon placement solves depth of field. Moving the horizon changes how much ground appears; it does not move the focus plane or make nearby and distant details equally sharp.
Consider the camera height before changing the lens. Raising the camera can reveal more ground and move the horizon lower in the frame. Lowering it can hide a cluttered foreground and open more sky. Keep the camera secure, especially near water or on uneven ground, and do not step into a hazardous area to reach a particular viewpoint.
Use a three-frame comparison
Choose one safe position and photograph the same scene three times. Put the horizon low in the first frame, near the middle in the second, and high in the third. Keep the focal length and camera height steady so the horizon placement is the main change. If you move the camera up or down, make a separate set and note what changed.
Compare the frames at the same display size. Ask which one makes the subject easiest to notice, whether the sky or land has too much empty space, and whether a foreground detail helps lead into the scene. A close crop can make differences look stronger, so first view all three as complete photographs.
- Choose the main subject and the part of the scene that supports it.
- Use the grid as a guide for a low, central, and high horizon.
- Check the horizon level, frame edges, and anything that overlaps the subject.
- Compare the photographs at the same size before choosing a crop.
If one frame looks stronger only after a heavy crop, repeat the exercise with a slightly tighter starting composition. If none works, move sideways or change camera height and make another set. The aim is to see how the scene changes, not to prove that one grid position is always best.
Related lessons
- Where Should You Focus in a Landscape?
- How to Use Leading Lines Without Pulling Attention Away From Your Subject
Leave a Reply