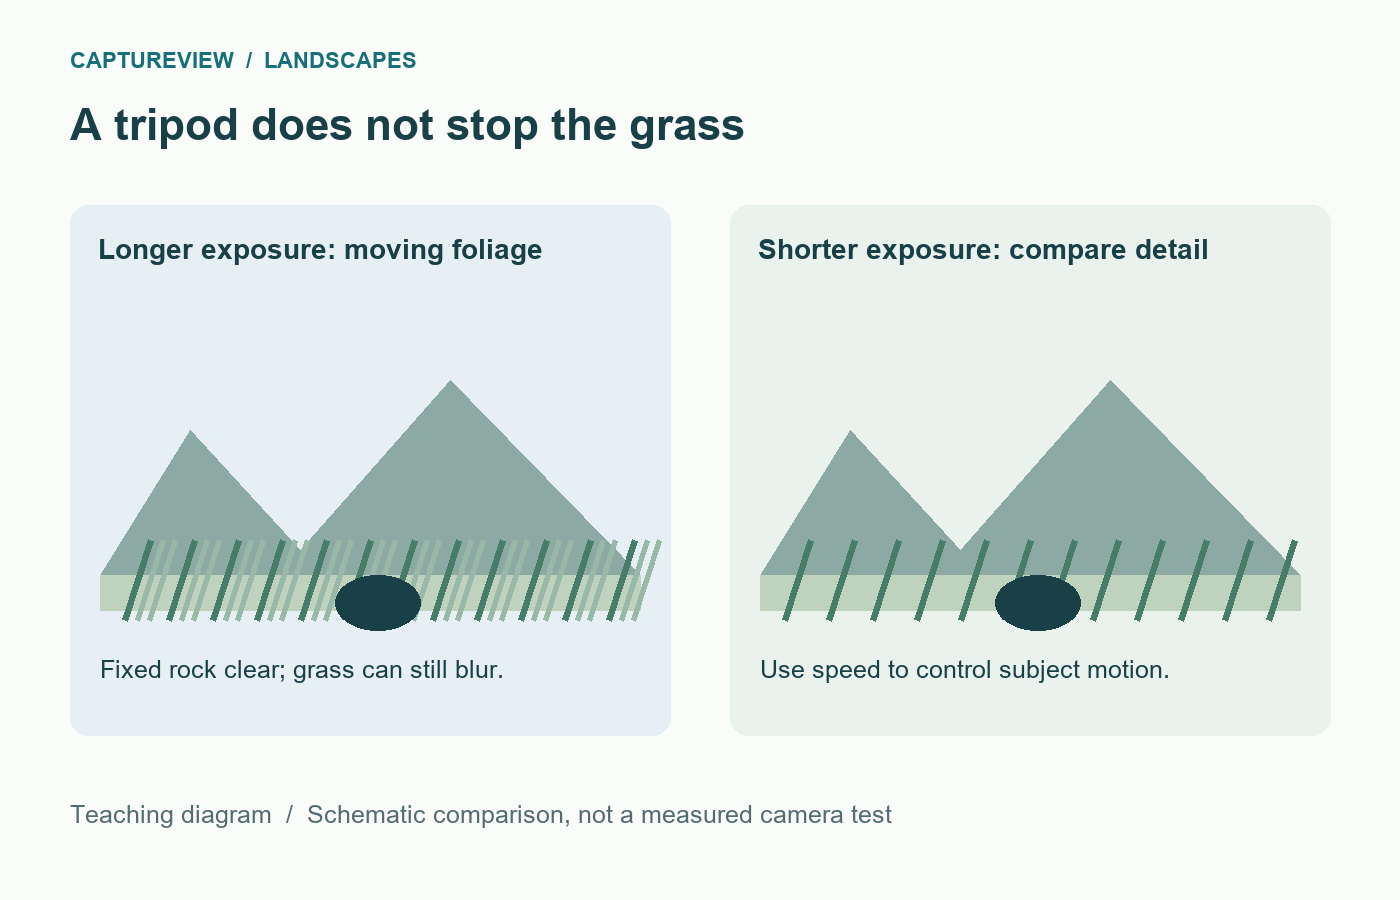
The rocks look sharp, but the grass in front of them is a soft green smear. The camera was on a tripod, so it is tempting to blame focus. Look at what moved: the tripod held the camera still while the wind moved the grass during the exposure.
Check whether the camera is moving, then decide whether you want the foliage sharp or blurred. Secure support helps with camera movement; shutter speed controls how much moving foliage blurs. If gusts affect your balance or the support will not stay secure, pack away.

Decide what you want the wind to look like
For a clear record of leaves, flowers, or foreground grasses, aim for a short enough exposure to limit their movement. If you want the weather to feel present, allow some foliage to blur against a still rock or tree trunk. Neither treatment is automatically better.
The difficult middle ground is accidental blur: the main subject looks slightly soft without a clear sense of motion. Make a deliberate comparison between a clearly faster frame and a clearly slower one. Small changes may not show you the difference you need.
Inspect something that cannot sway
In playback, magnify a rock, a building edge, or a substantial tree trunk. Then inspect the foliage. If the fixed detail is clear and the leaves trail, subject movement is the main issue. If both smear in a similar direction, check camera movement and support before changing focus.
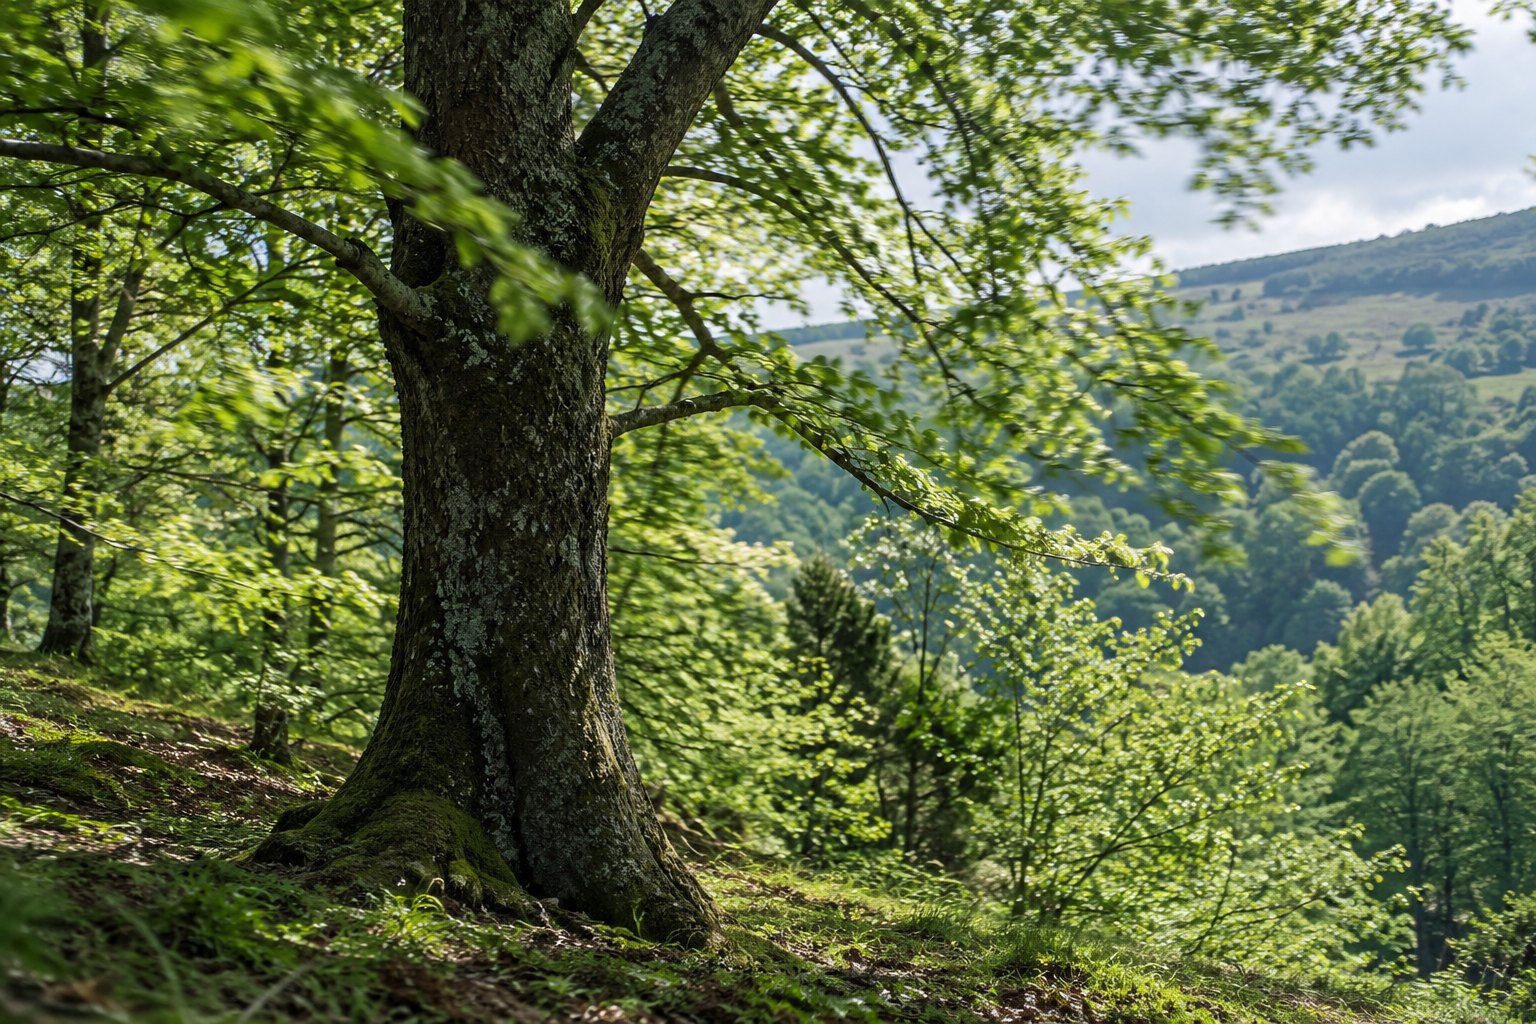
If the fixed detail is soft but a different distance is sharp, revisit focus and depth of field. Work through where to focus in a landscape rather than narrowing the aperture automatically. Several problems can occur in one frame, so examine more than one area.
For crisp foliage, shorten the exposure
Try 1/500 second as a test when nearby grass is moving noticeably. This is a comparison point, not a universal minimum. Tiny distant leaves, large nearby flowers, focal length, wind speed, and the final display size all change what looks sharp. Take a frame, magnify the important detail, and adjust from there.
If you were using 1/60 second at f/8, moving to 1/500 second costs roughly three stops of light. Keeping f/8 would require about eight times the ISO for similar brightness, assuming the light stays steady. A frame at ISO 100 would become roughly ISO 800. Those numbers are illustrative; check your actual meter and highlight warnings.
You can also open the aperture, but only as far as the required depth of field allows. Raising ISO may be a more useful compromise than losing the foreground detail you wanted. Do not insist on the lowest ISO when the subject movement is already ruining the frame.
Make a tripod less vulnerable to gusts
Use firm ground, spread the legs securely, and keep the centre column low when possible. Check that the head and leg locks are tight. A tall, lightly extended setup catches more wind than a compact one. Remove a loose strap from the wind when you can do so safely.
A hanging bag can become a pendulum. If your support is designed for added weight, use the manufacturer’s guidance and avoid leaving a load free to swing. Do not improvise a heavy attachment that might pull the equipment over.
Use a short self-timer or a release to avoid pressing on the camera during a supported exposure. That removes your touch, not a gust. Follow the camera or lens manual for tripod stabilisation settings; different systems behave differently.
Wait for a lull, then check the result
Watch the part of the scene you care about. Grass may pause briefly between gusts even while distant treetops keep moving. Make a short sequence around that lull and choose by detail, rather than holding the shutter continuously and assuming one must be sharp.
Clouds can change the light at the same time. Recheck exposure when a bright gap opens. A successful earlier setting may now clip the sky or leave the foreground much darker. Avoid changing every setting at once; know whether you are correcting brightness, motion, or depth of field.
If you choose to show movement
Keep one reliable visual anchor, such as a rock or a sturdy trunk. With the camera supported, compare exposures such as 1/4 second and one second when light allows. The amount and direction of blur depend on the plants and the gust. A neutral-density filter can permit longer exposures in bright light, but you do not need one just to practise in dimmer conditions.
Moving foliage makes exposure blending and focus stacking more difficult. Adjacent frames may no longer line up in those areas. For a beginner, a single well-chosen exposure is often a cleaner starting point than a complicated blend with ghosted leaves.
Change the subject when conditions demand it
A low viewpoint that includes moving grass may be less useful than a tighter frame of rocks, a sheltered detail, or a distant hillside. Recompose rather than fighting every gust. The horizon-placement lesson can help you remove an unhelpful foreground without making the sky accidental.
Stay clear of unstable trees, exposed edges, and rough water. If gusts affect your balance or the support will not stay secure, pack away and return in different conditions. Keep a note of the shutter speed that worked and whether the blur came from the camera or the scene. That distinction is useful on the next windy day.
Sources and further reading
Nikon: capturing or freezing motion explains shutter-speed choices. The settings in this lesson are test points to adapt to your scene, not measured guarantees.
Leave a Reply