The portrait looks relaxed, but a bright rectangle covers one eye. You ask for another smile and get exactly the same rectangle. The reflection is showing you where the window is in relation to the glasses and the camera. Repeating the expression will not change that geometry.
Keep the glasses if the person normally wears them and wants them in the portrait. Start by moving yourself or changing the direction of the light. Aim for visible eyes and a natural expression. A small reflection away from the pupil may be acceptable.
Find the source of the bright patch
Before adjusting the pose, look at the reflected shape. A rectangle may be a window, a small hard spot may be a lamp, and several little rectangles may be ceiling lights. Turn off a nearby lamp when it contributes nothing useful. Do not switch off room lighting that somebody needs for safe access.
Clean the glasses if the wearer wishes to; fingerprints can make a reflection look hazy. Let the wearer handle their own lenses and frames. Coatings, prescriptions, and lens curves vary, so two people standing in the same place may show different reflections.
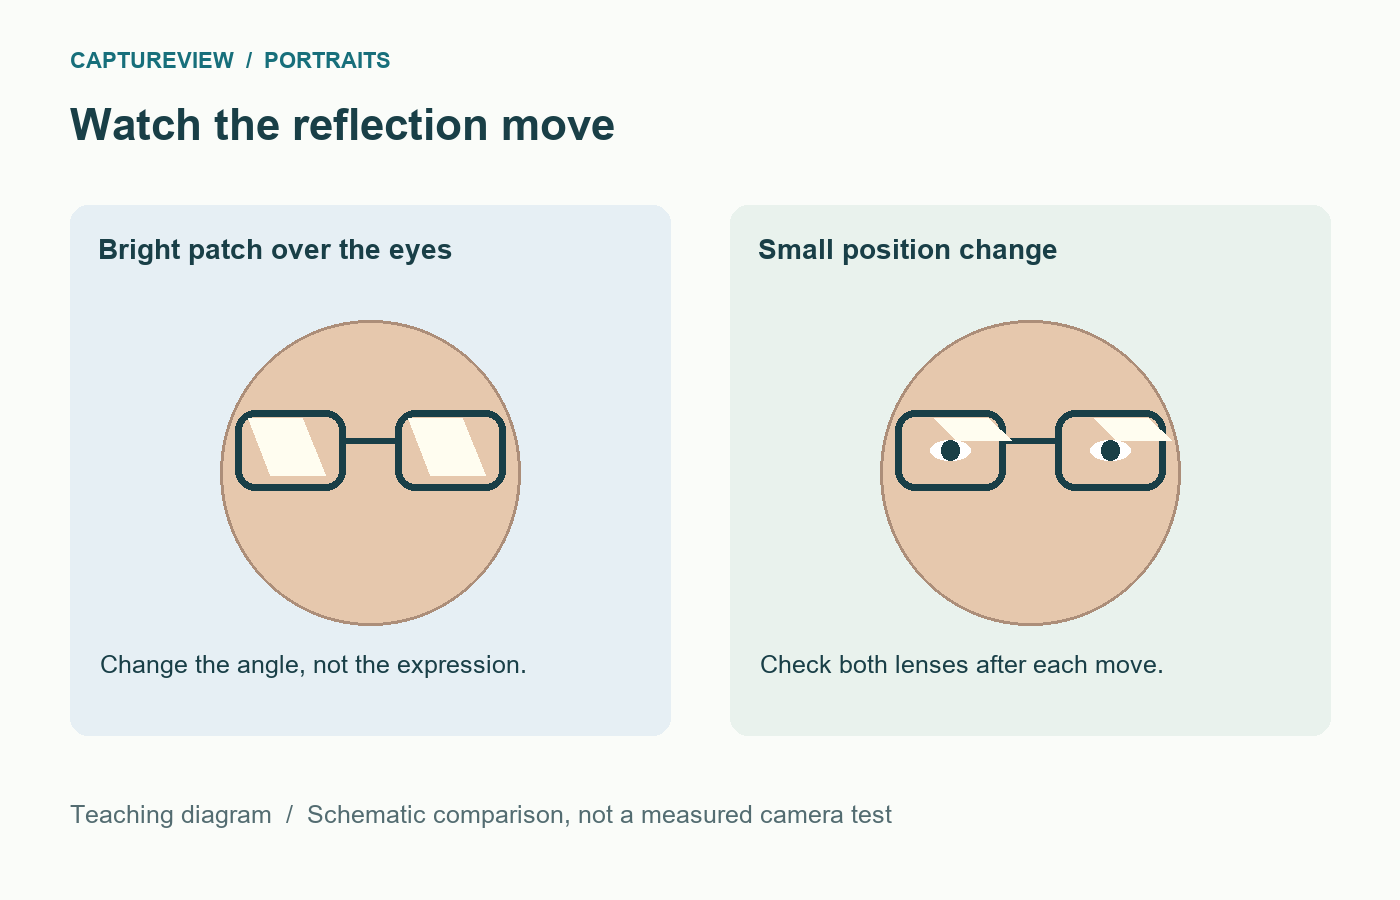
Move one thing a small amount
With the subject sitting comfortably, take a reference picture. Then move the camera a little left or right while keeping a similar height and distance. Watch the reflection in live view. If it moves away from the pupil, take another frame and check the expression.
If moving yourself changes the background too much, ask for a small turn of the face towards or away from the light. Use a direction the person can follow easily: “Turn your nose a little towards the window.” Ask them to keep their gaze comfortable. Avoid twisting the head far away while insisting they stare back into the lens.
A slight change in chin angle may help, but it can also hide the eyes behind the frame or make the pose uncomfortable. Treat it as a small adjustment, not a compulsory chin-down pose. If the wearer prefers a straight-on portrait, change the lighting position instead.

Beside a window
Start with indirect daylight from one side, rather than placing the window directly behind the photographer. Keep the person a comfortable distance from the window and turn the face gradually. Check both lenses after each useful change: clearing one eye may introduce a reflection in the other.
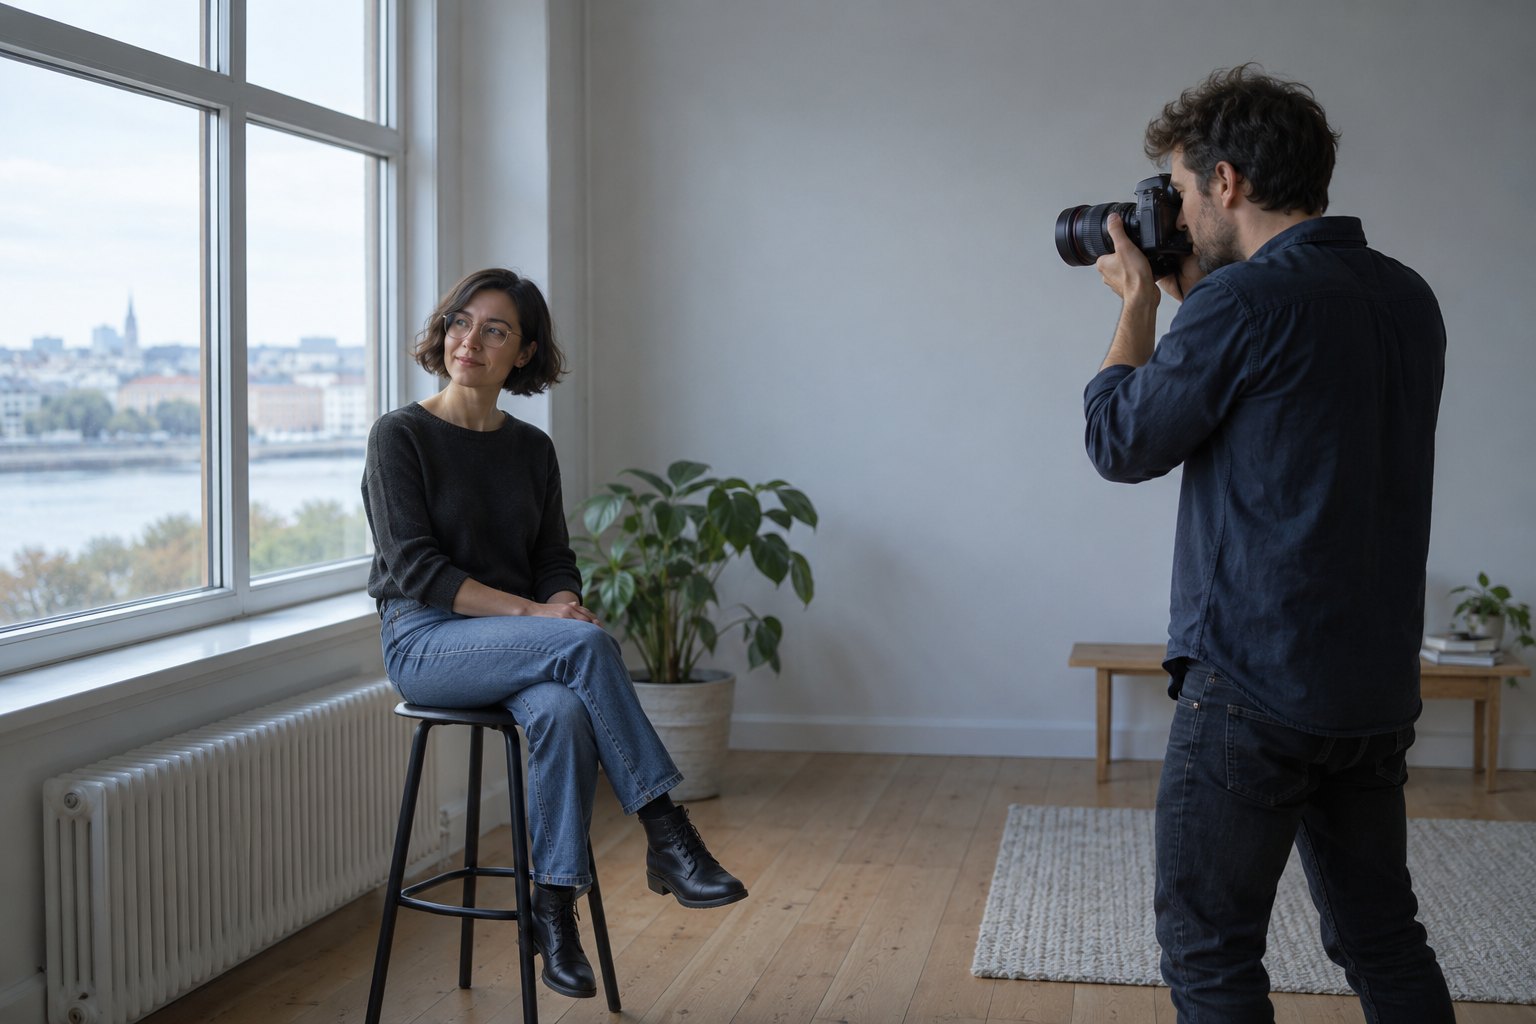
A large window can produce a large reflection even though the face lighting is soft. Moving the person slightly farther into the room or changing your side of the window may move the reflected patch. Judge the resulting cheek shadows as well. Solving the glare while leaving the face too dark is not much progress.
The setup in window-light portraits is a useful starting point. Adapt it to the glasses rather than copying a particular angle.
Outdoors or with a movable light
In open shade, large bright areas of sky can appear in the lenses. Try rotating the person and camera together so the brightest opening is farther to one side. Keep a simple background and watch for coloured reflections from grass or nearby walls. If the light becomes flat, use the approach in portraits in open shade to find more direction.

With a movable lamp or softbox, shift it higher or farther to the side in small steps, using secure support. Inspect the face shadows and both lenses after every change. There is no universal height or angle that clears all prescriptions and poses. A stand outside the frame still needs enough room to be stable.
Check the eyes, not just the absence of glare
Magnify a test frame. Are eyelashes or the iris reasonably sharp? Did autofocus choose the glasses frame instead? Eye detection can help, but it is worth checking when lenses distort or obscure the eye. If necessary, use a smaller focus area on a visible eye.
For a relatively still adult, 1/250 second is a useful initial handheld check in suitable light. Choose a faster speed for movement and an aperture that gives you enough depth of field. A very wide aperture is not automatically flattering if it leaves the important eye soft.
A faint reflection near the outside of a lens may be harmless. A smaller reflection across the pupil can matter much more. Judge the location and effect rather than counting every highlight.
A five-minute practice session
Ask permission and explain that you will make three quick comparisons. Photograph the comfortable starting pose, then move the camera slightly to one side, then try a small face turn with the best camera position. Keep the exposure similar. Show the three frames to the person and ask which expression and lighting they prefer.
If none works, move to a different window or shaded position. Do not spend the session adjusting the person’s frames or demanding an awkward pose. A changed location can be easier than a complicated fix.
Do not rely on editing to reveal a hidden eye
If glare completely replaces the pupil and iris in the file, the original eye detail may not be recoverable. Retouching can become reconstruction. Correct a small distraction cautiously, but prioritise a usable capture when you are still at the location.
Reflection-removal tools designed for photographs taken through windows are not a guarantee for spectacles. Check the feature’s current documentation and inspect the result closely. The simplest useful edit may be choosing the next frame, where the reflection already misses the eye.
Sources and further reading
Adobe: Reflection Removal describes a feature intended for large reflections from shooting through glass. It is not a promise that hidden eye detail can be recovered from eyeglasses.
Leave a Reply